> ## Documentation Index
> Fetch the complete documentation index at: https://docs.simbas.ai/llms.txt
> Use this file to discover all available pages before exploring further.
# Editing the Itinerary
> How to edit the AI Generated Itinerary
The section below outlines how to **edit an existing itinerary** within the [Simbas.AI](http://Simbas.AI) dashboard.
> **Note:** Changes will **not be saved automatically**.\
> \
> To save your updates, you must **explicitly click “Save Itinerary”** from the menu in the **bottom-right corner** of the page (accessible by clicking the three dots).
### Static & Publish Modes
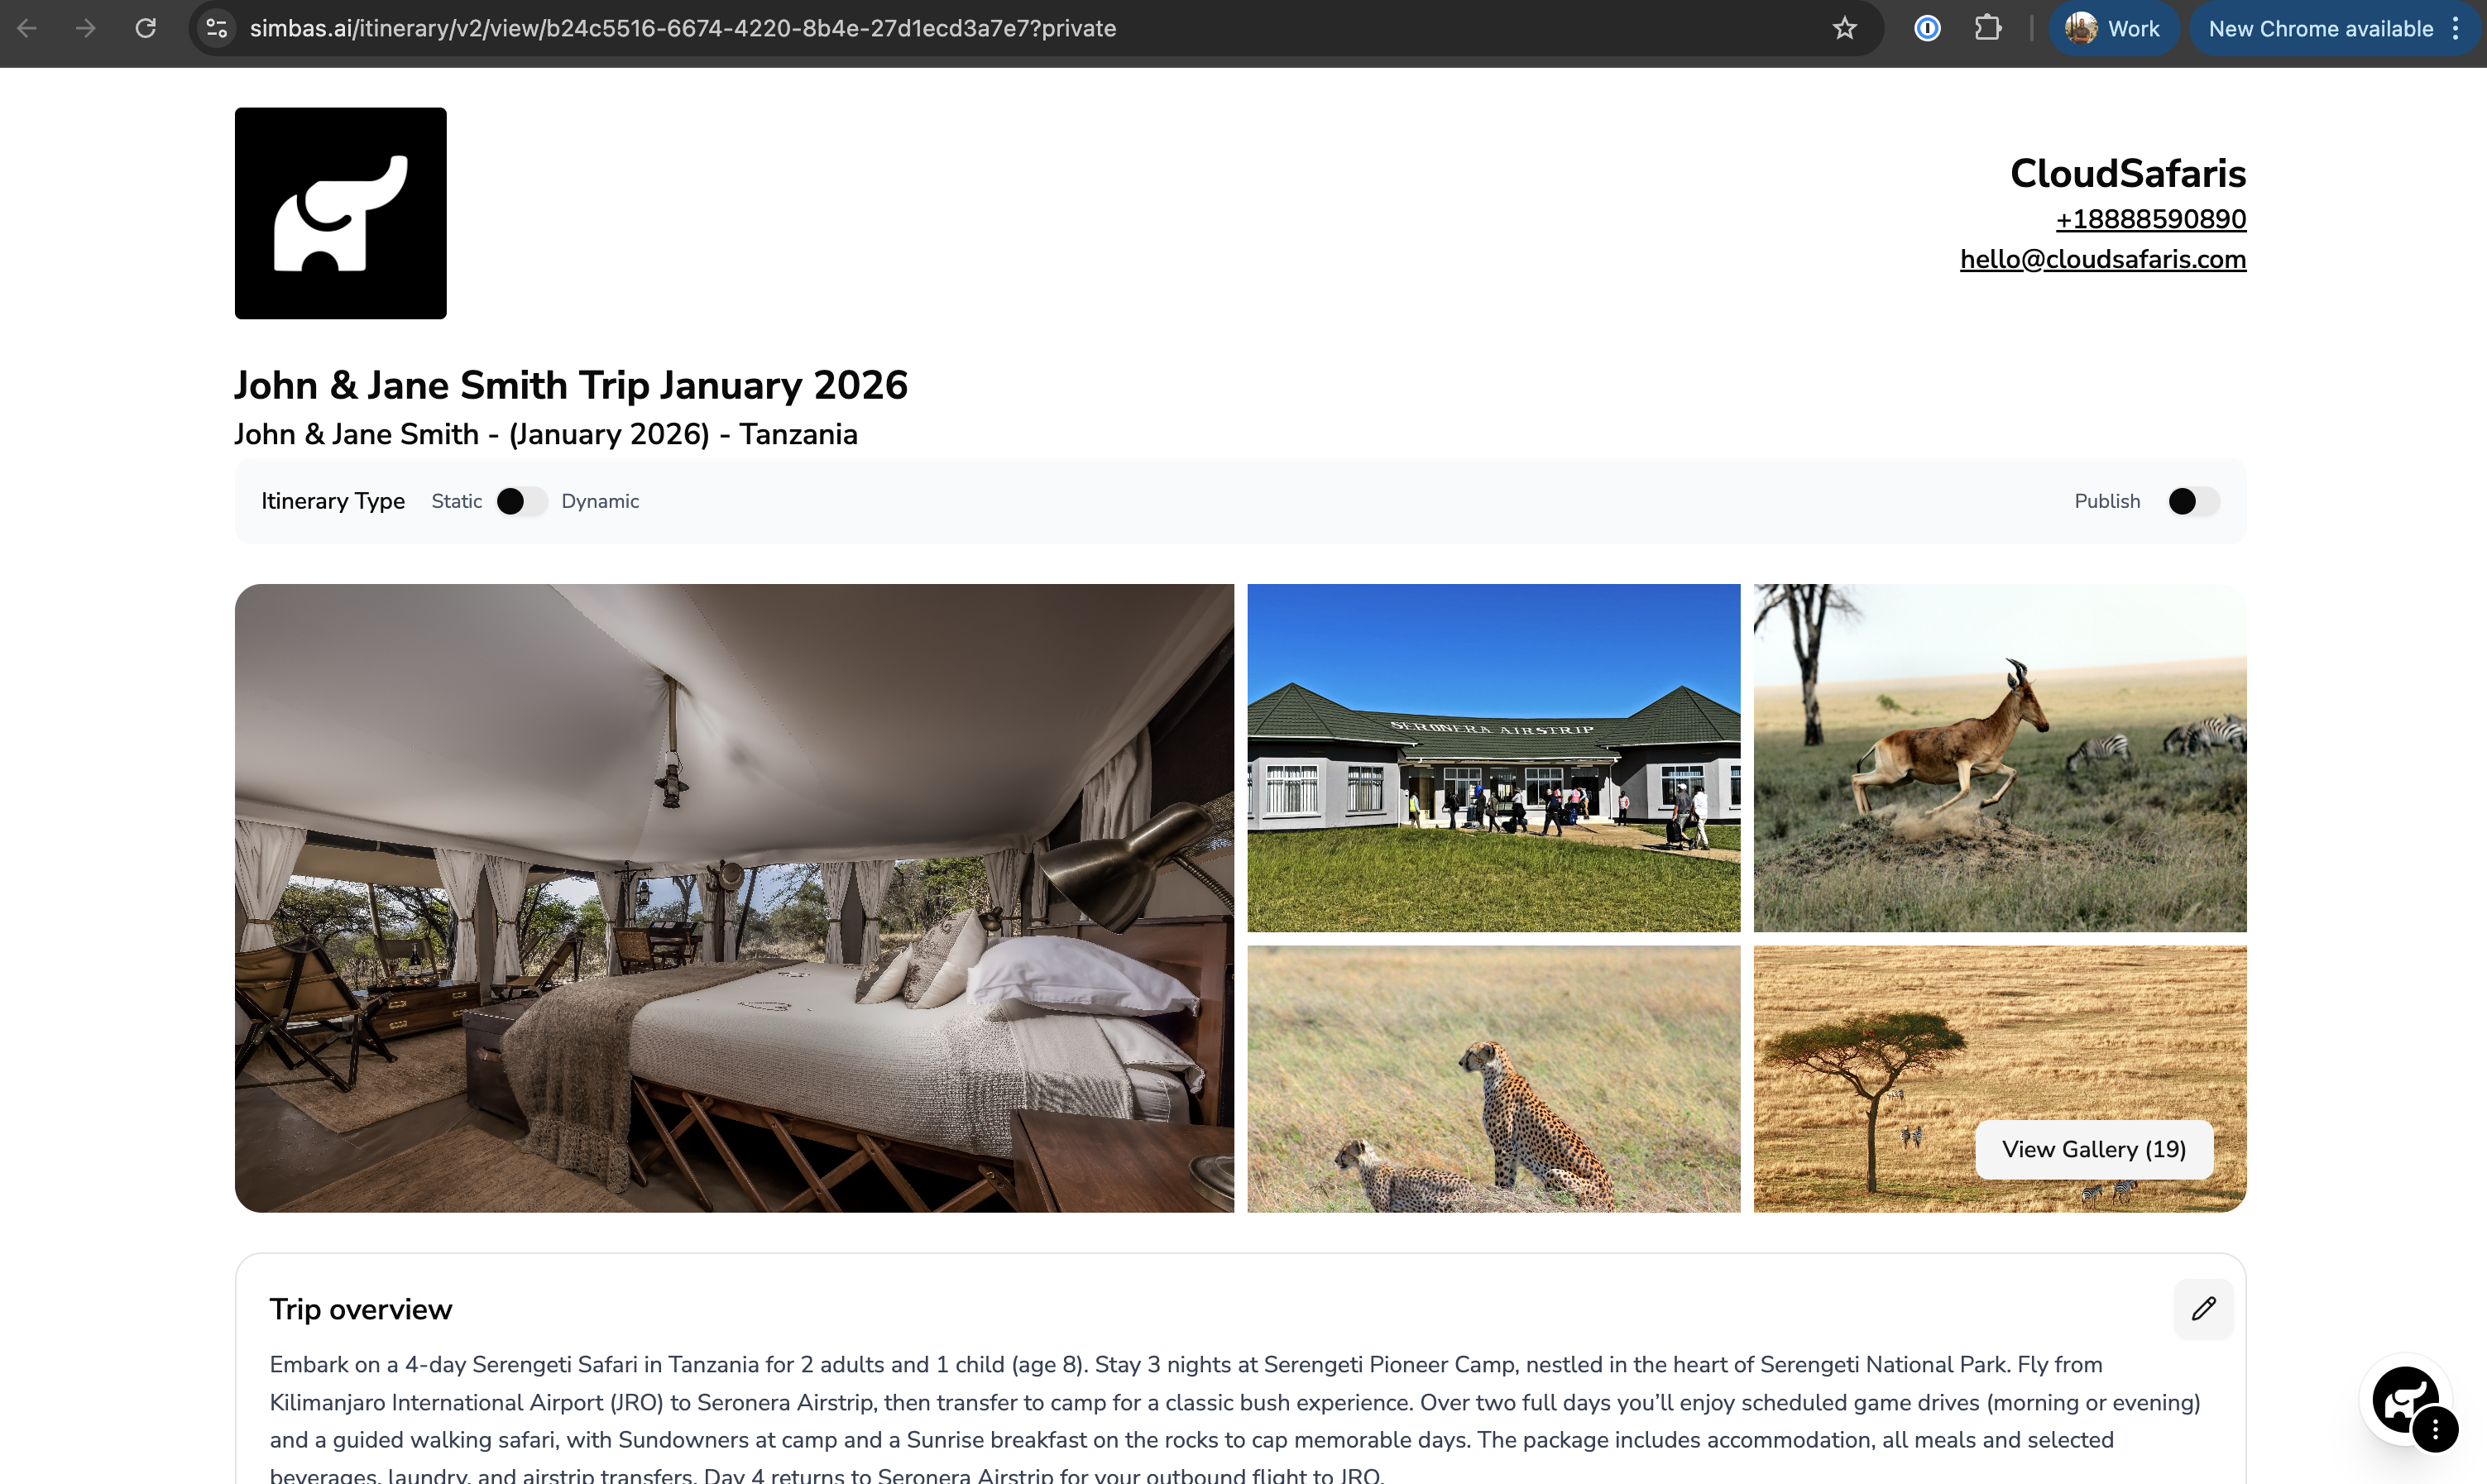 At the top of the itinerary page, you’ll find three key toggles: **Static**, **Dynamic**, and **Publish**.
**Static**
The **Static** toggle refers to itineraries with **fixed pricing** — ideal for quotes or packages you want to share directly with customers without automatic price adjustments.
**Dynamic**
The **Dynamic** toggle is currently in **BETA** and will be available in a future release.
This feature will enable **real-time dynamic pricing**, allowing your itineraries to automatically adjust rates based on supplier data, dates, and traveler details.
**Publish**
The **Publish** toggle controls whether an itinerary is **publicly accessible**.
When enabled, the itinerary becomes discoverable through the **search graph** and will appear on a **dedicated landing page** in a future update.
### Editing the Overview
At the top of the itinerary page, you’ll find three key toggles: **Static**, **Dynamic**, and **Publish**.
**Static**
The **Static** toggle refers to itineraries with **fixed pricing** — ideal for quotes or packages you want to share directly with customers without automatic price adjustments.
**Dynamic**
The **Dynamic** toggle is currently in **BETA** and will be available in a future release.
This feature will enable **real-time dynamic pricing**, allowing your itineraries to automatically adjust rates based on supplier data, dates, and traveler details.
**Publish**
The **Publish** toggle controls whether an itinerary is **publicly accessible**.
When enabled, the itinerary becomes discoverable through the **search graph** and will appear on a **dedicated landing page** in a future update.
### Editing the Overview
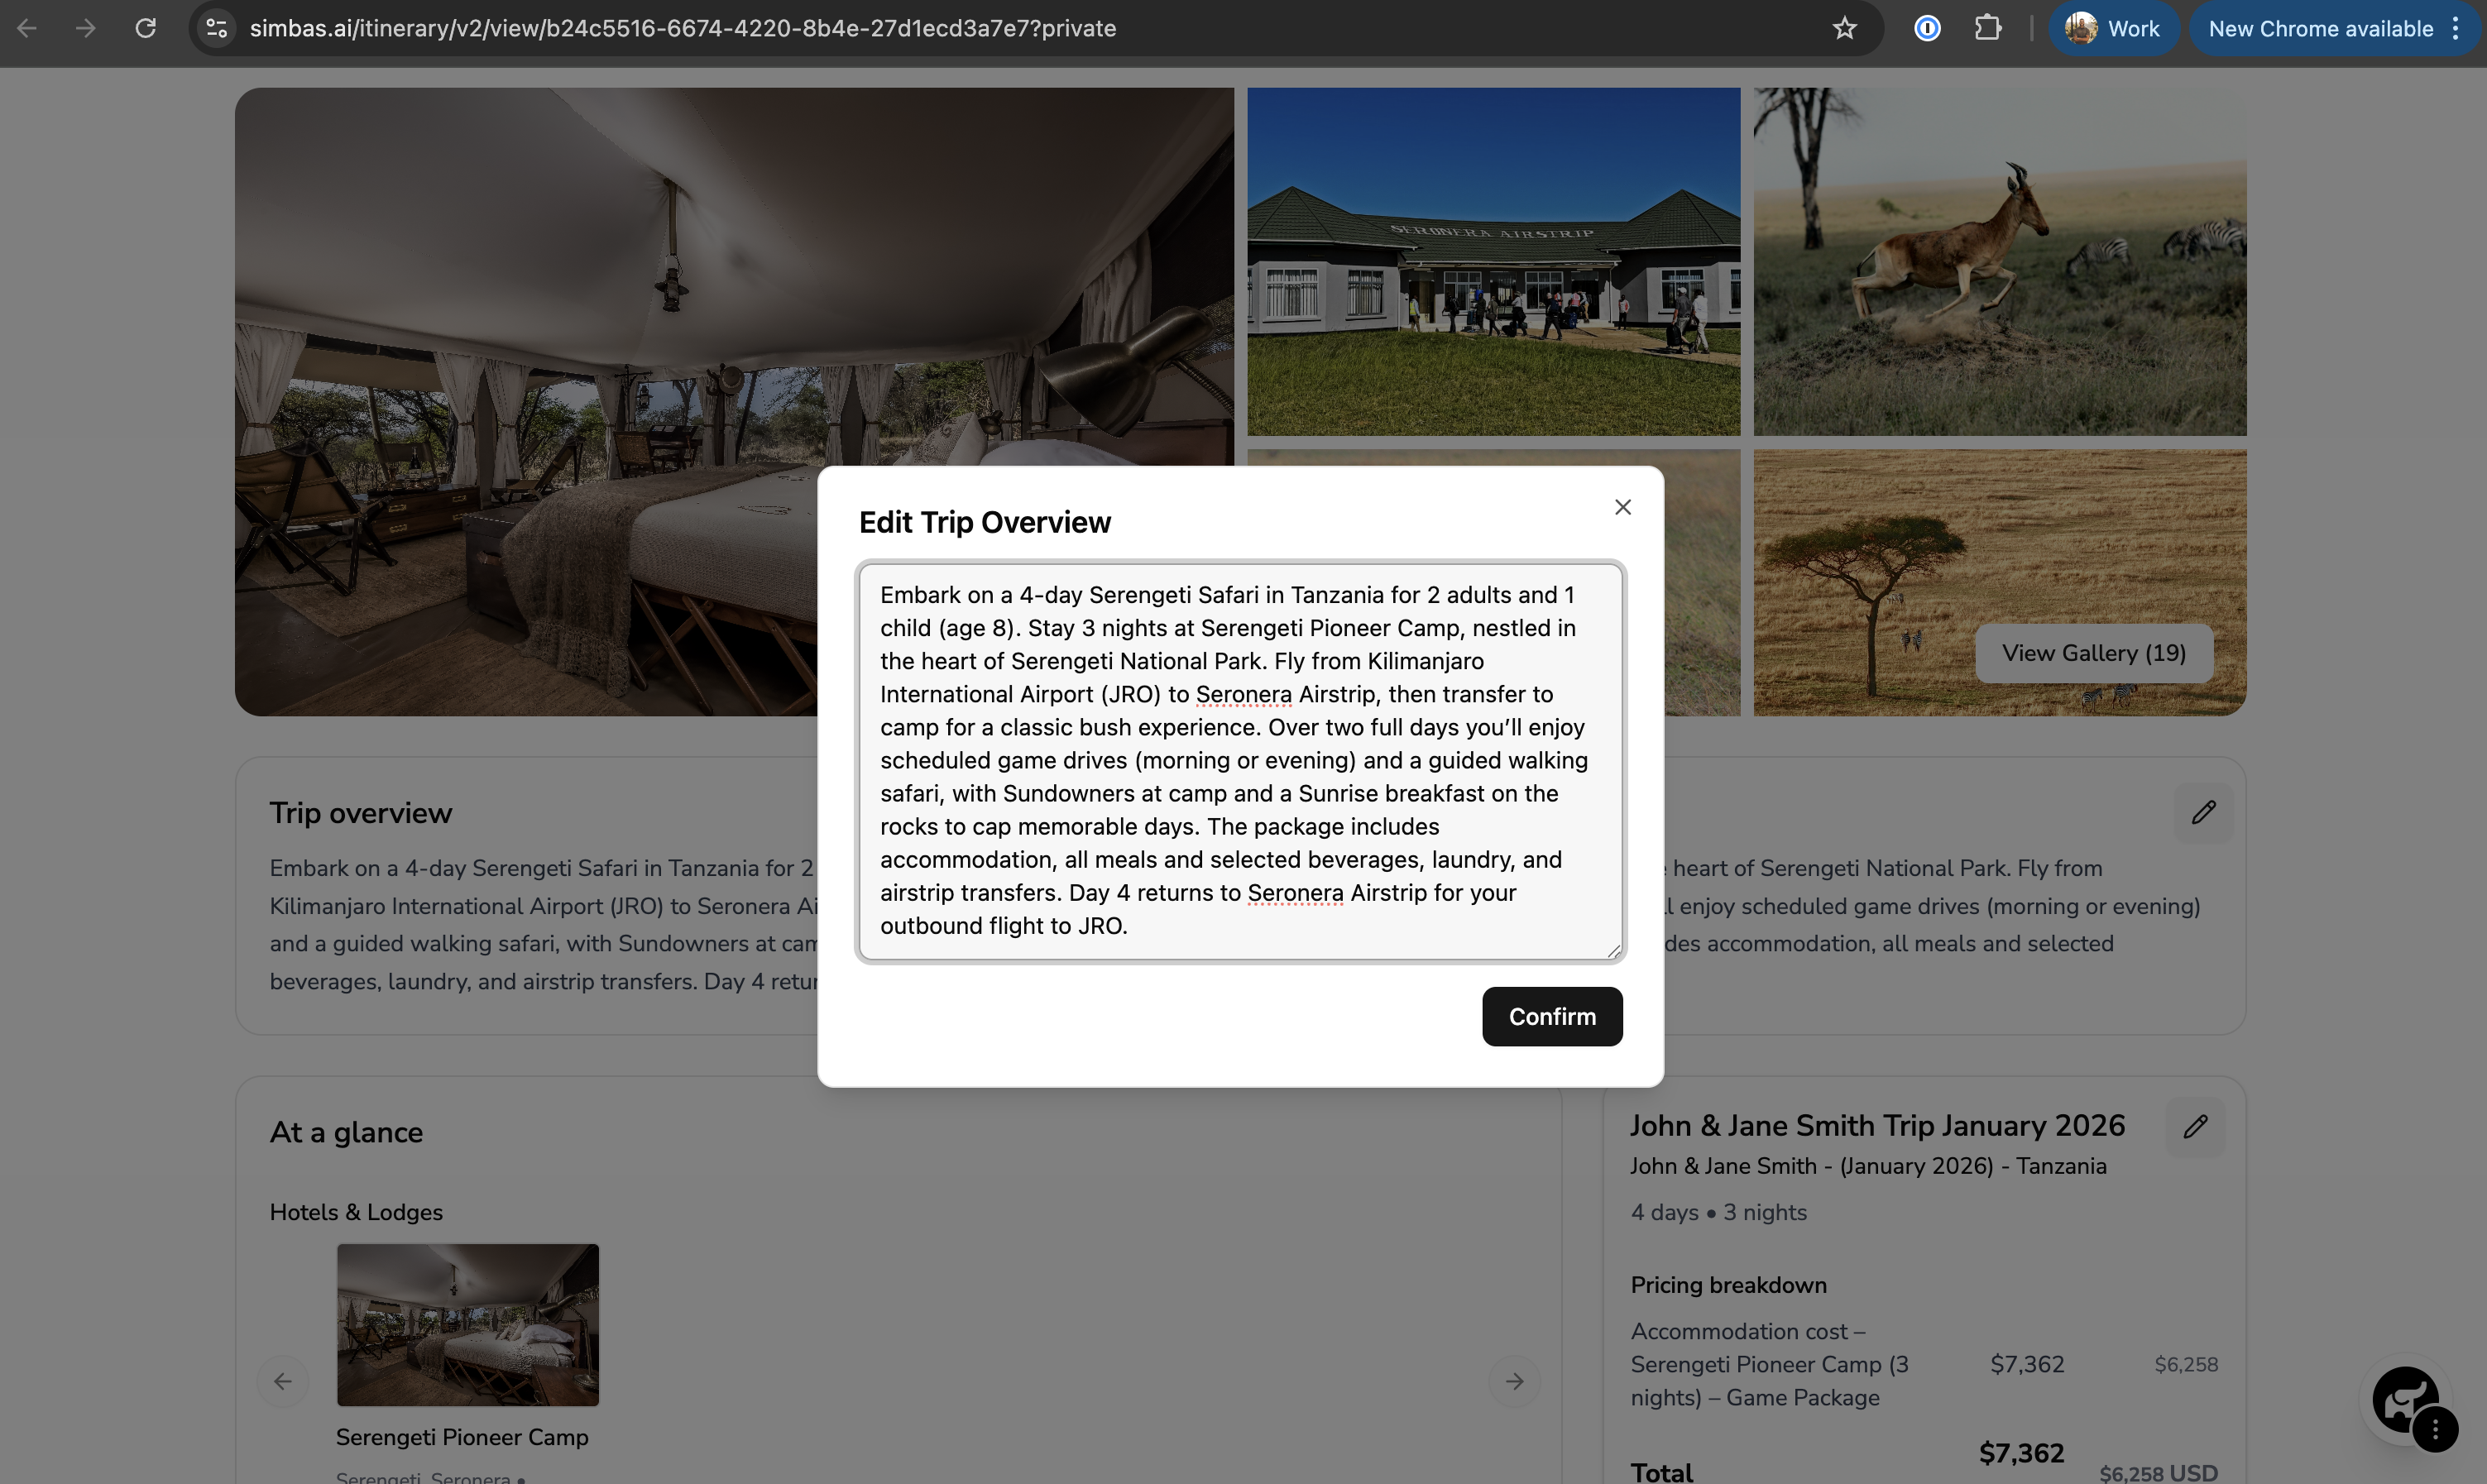 To edit the **Trip Overview**, click the **pencil icon** next to the *Trip Overview* section.
A modal will appear, allowing you to update the trip details as needed.
Once you’ve made your changes, click **“Confirm”** to apply and save the updates to the itinerary.
### Editing the Name, Internal Name, Cost and Payment Plan
To edit the **Trip Overview**, click the **pencil icon** next to the *Trip Overview* section.
A modal will appear, allowing you to update the trip details as needed.
Once you’ve made your changes, click **“Confirm”** to apply and save the updates to the itinerary.
### Editing the Name, Internal Name, Cost and Payment Plan
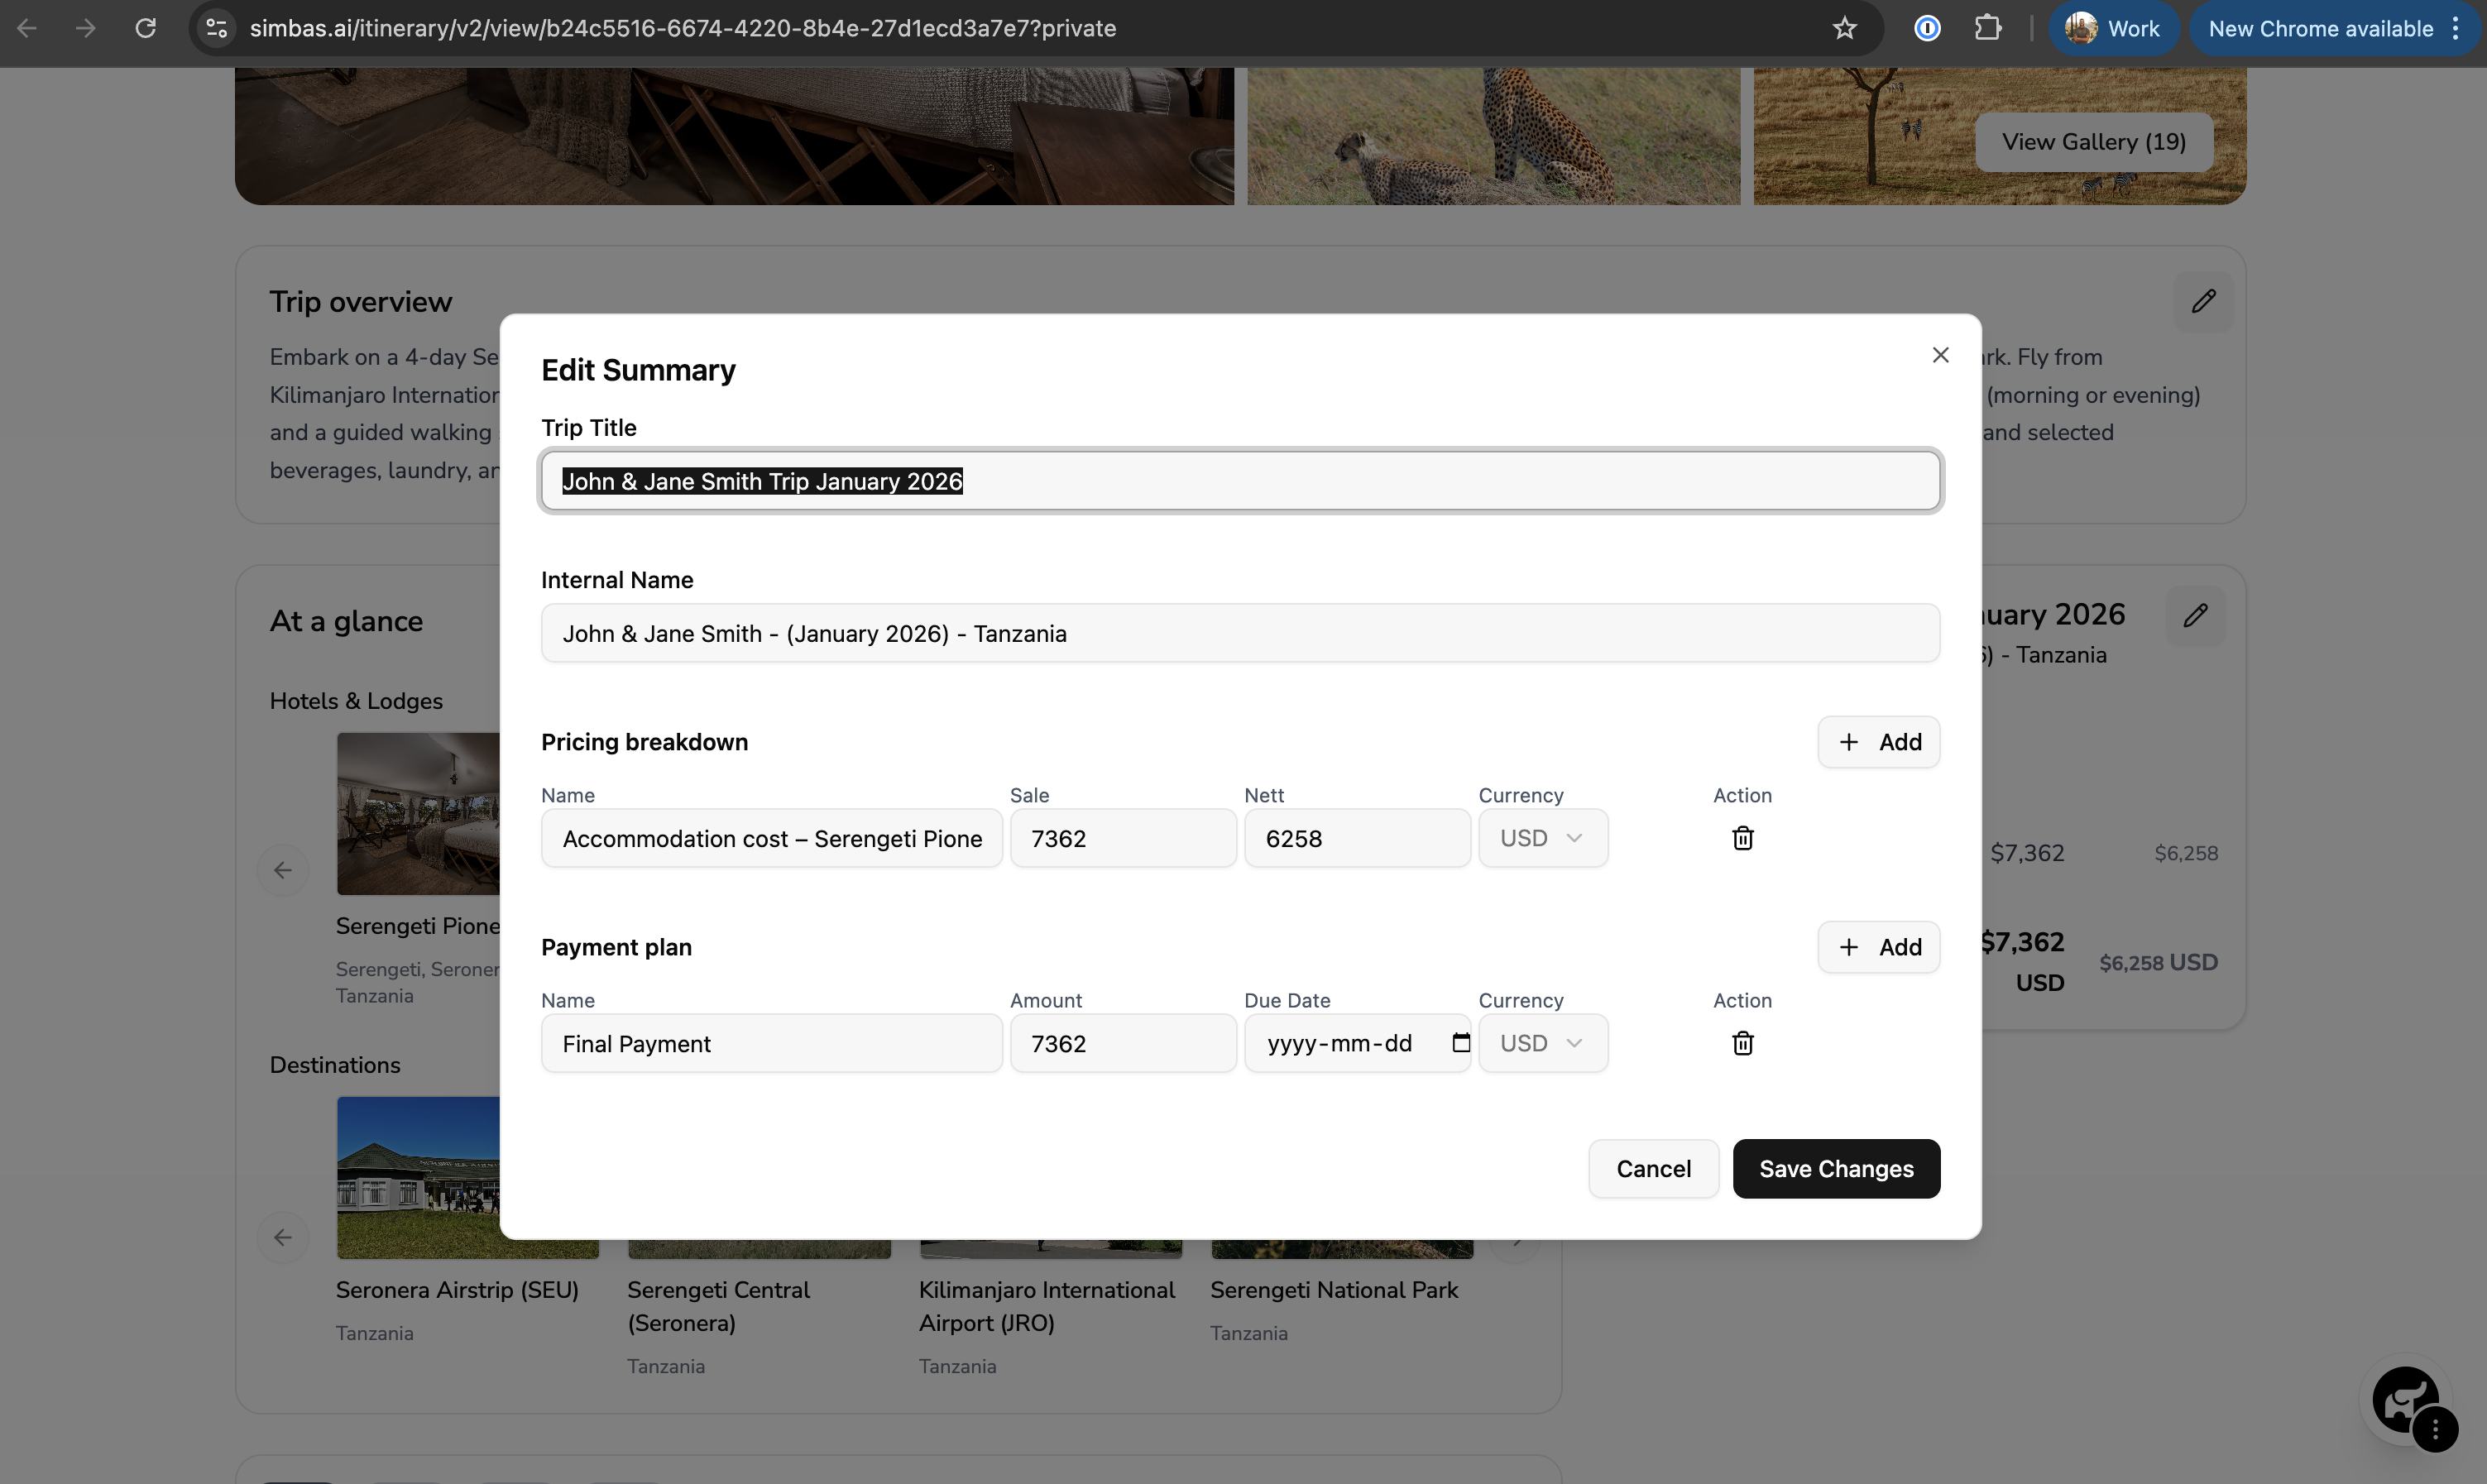 To edit the **Trip Name**, **Internal Name**, **Pricing Breakdown**, or **Payment Plan**, click the **pencil icon** in the **top-right corner** of the pricing section.
This will open an editor where you can update pricing details and configure the payment plan for the itinerary.
Once you’re satisfied with your edits, click **“Save Changes”** to apply and store the updates.
### Editing the Days
To edit the **Trip Name**, **Internal Name**, **Pricing Breakdown**, or **Payment Plan**, click the **pencil icon** in the **top-right corner** of the pricing section.
This will open an editor where you can update pricing details and configure the payment plan for the itinerary.
Once you’re satisfied with your edits, click **“Save Changes”** to apply and store the updates.
### Editing the Days
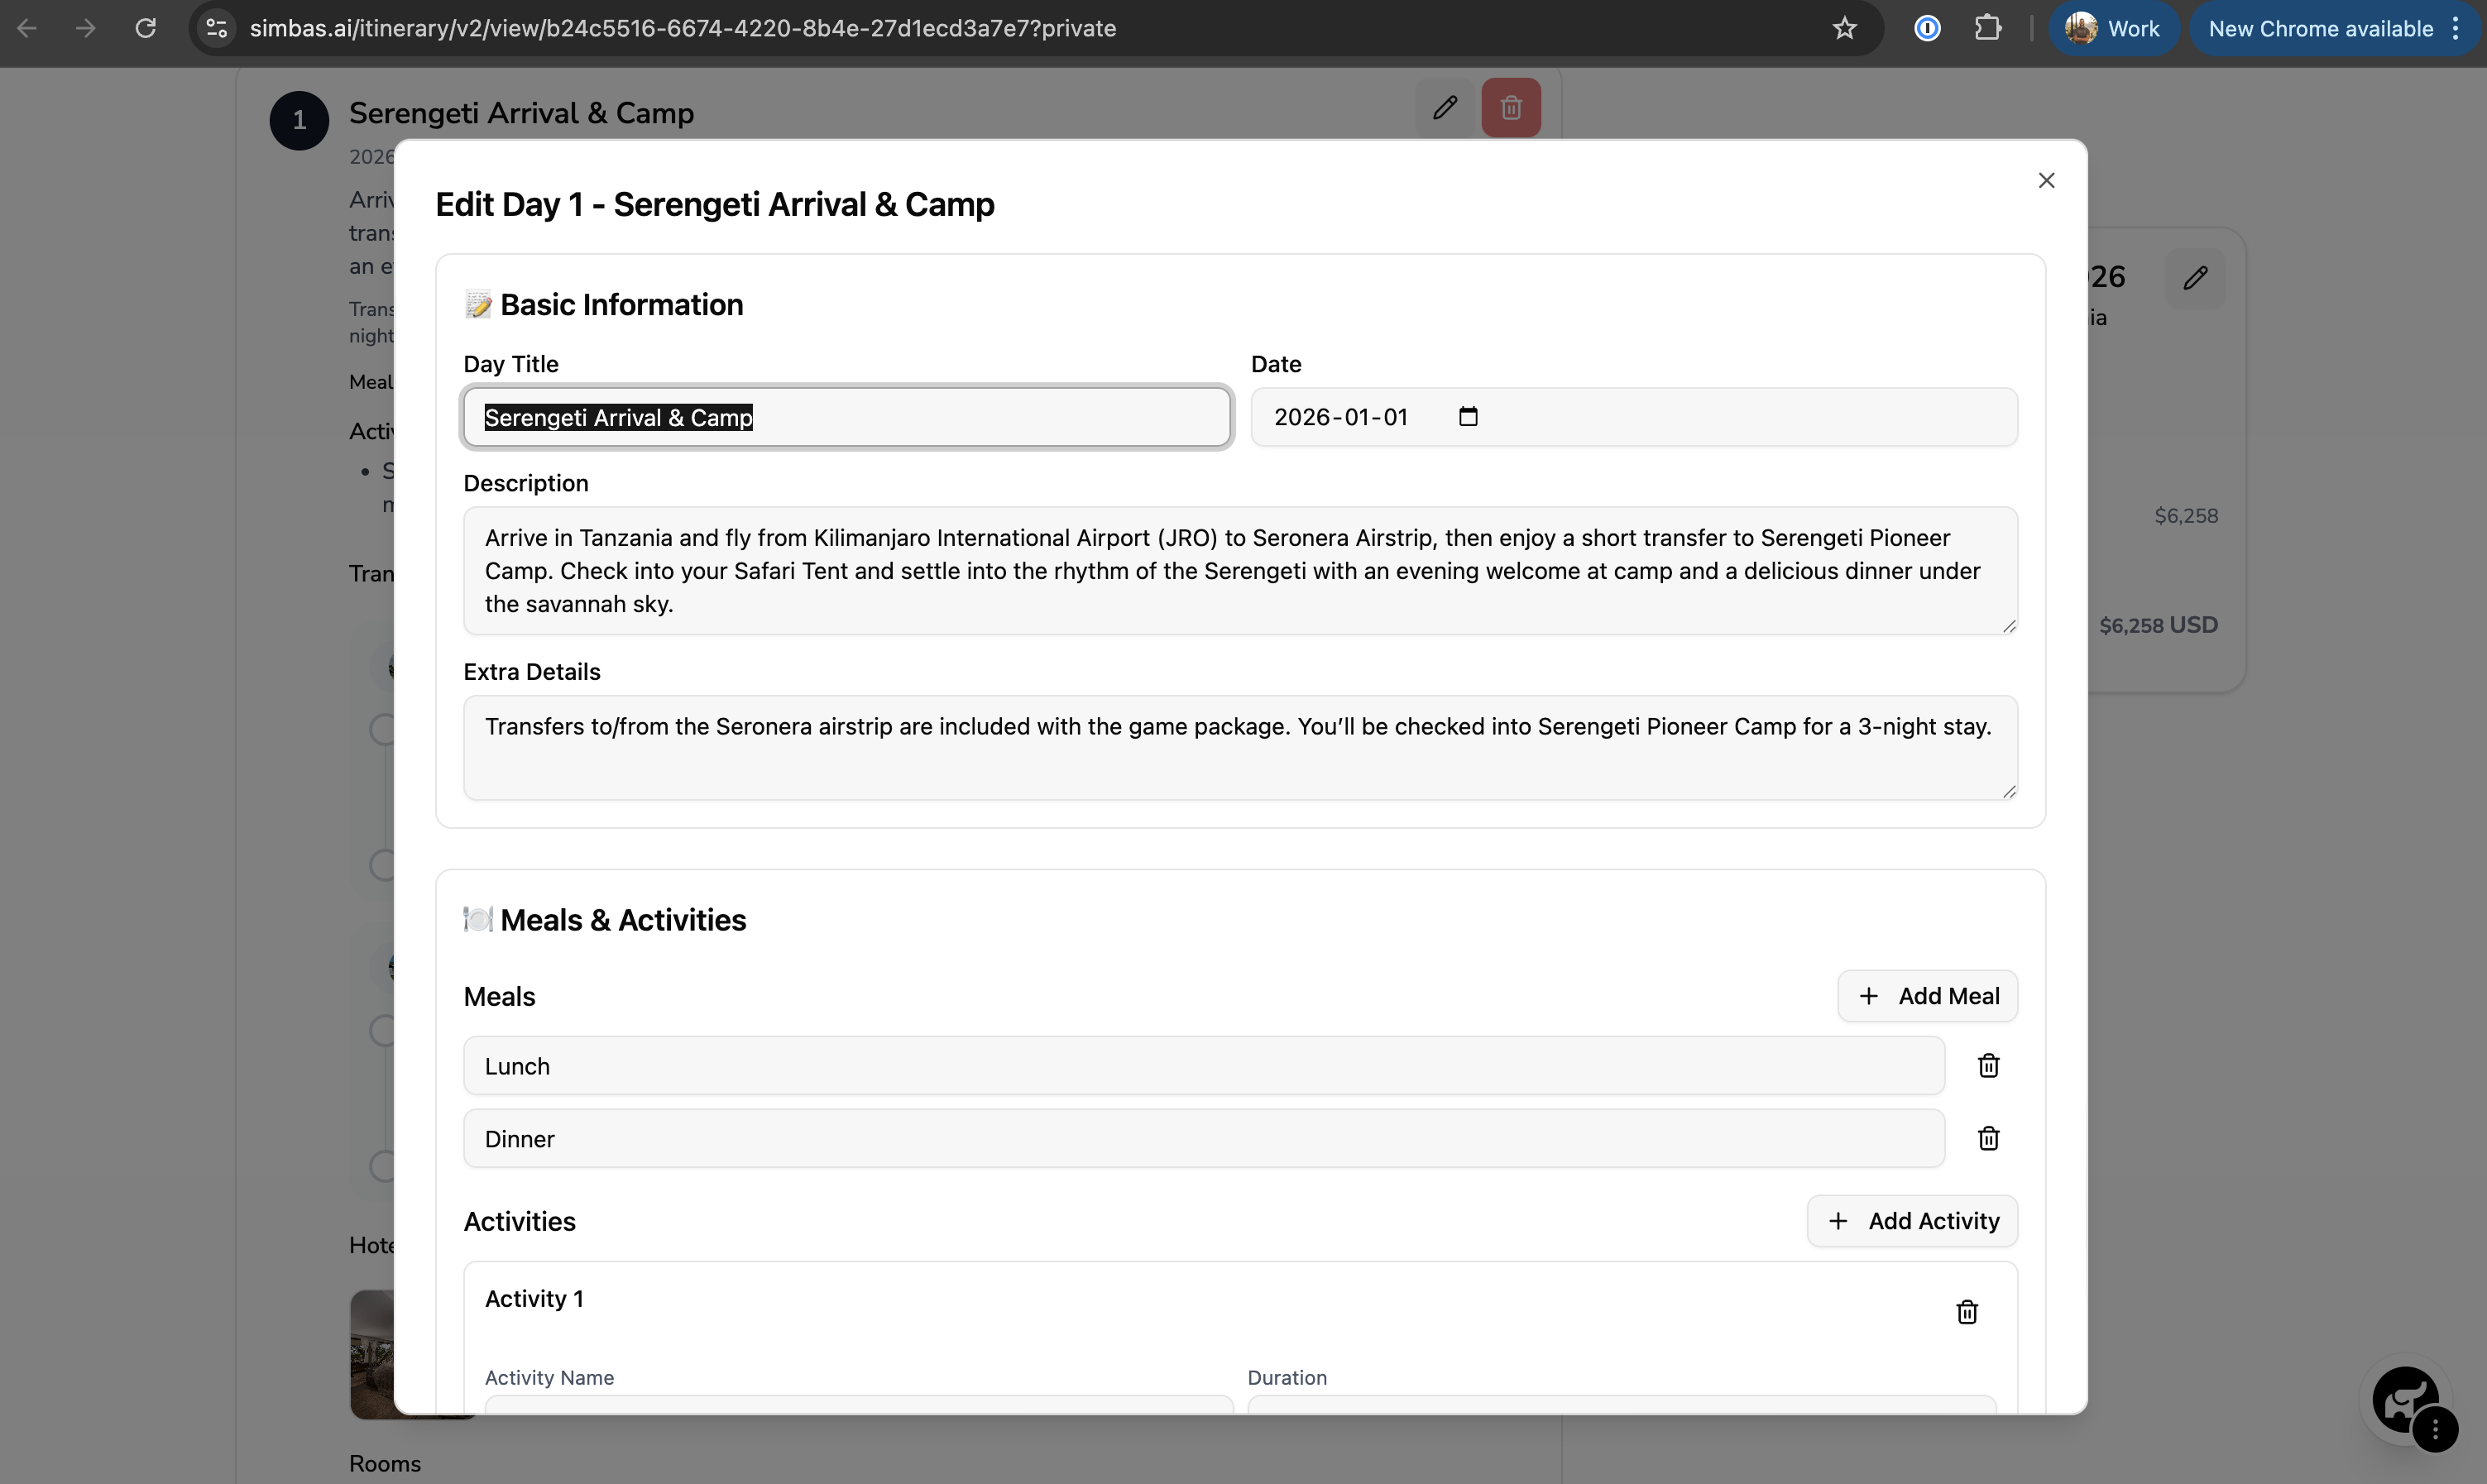 To edit the details for a specific day within an itinerary, click the **pencil icon** in the **top-right corner** of that day’s section.
This will open a modal where you can update all relevant details, including:
* **Basic Information:** Title, Date, Description, and Extra Details
* **Meals & Activities**
* **Transfers**
* **Accommodations**
* **Activities**
After making your edits, click **“Confirm”** to save the changes.
### **Deleting a Day**
To delete a day from the itinerary, click the **red trash icon** in the **top-right corner** of the day’s section.
### Adding Days
To edit the details for a specific day within an itinerary, click the **pencil icon** in the **top-right corner** of that day’s section.
This will open a modal where you can update all relevant details, including:
* **Basic Information:** Title, Date, Description, and Extra Details
* **Meals & Activities**
* **Transfers**
* **Accommodations**
* **Activities**
After making your edits, click **“Confirm”** to save the changes.
### **Deleting a Day**
To delete a day from the itinerary, click the **red trash icon** in the **top-right corner** of the day’s section.
### Adding Days
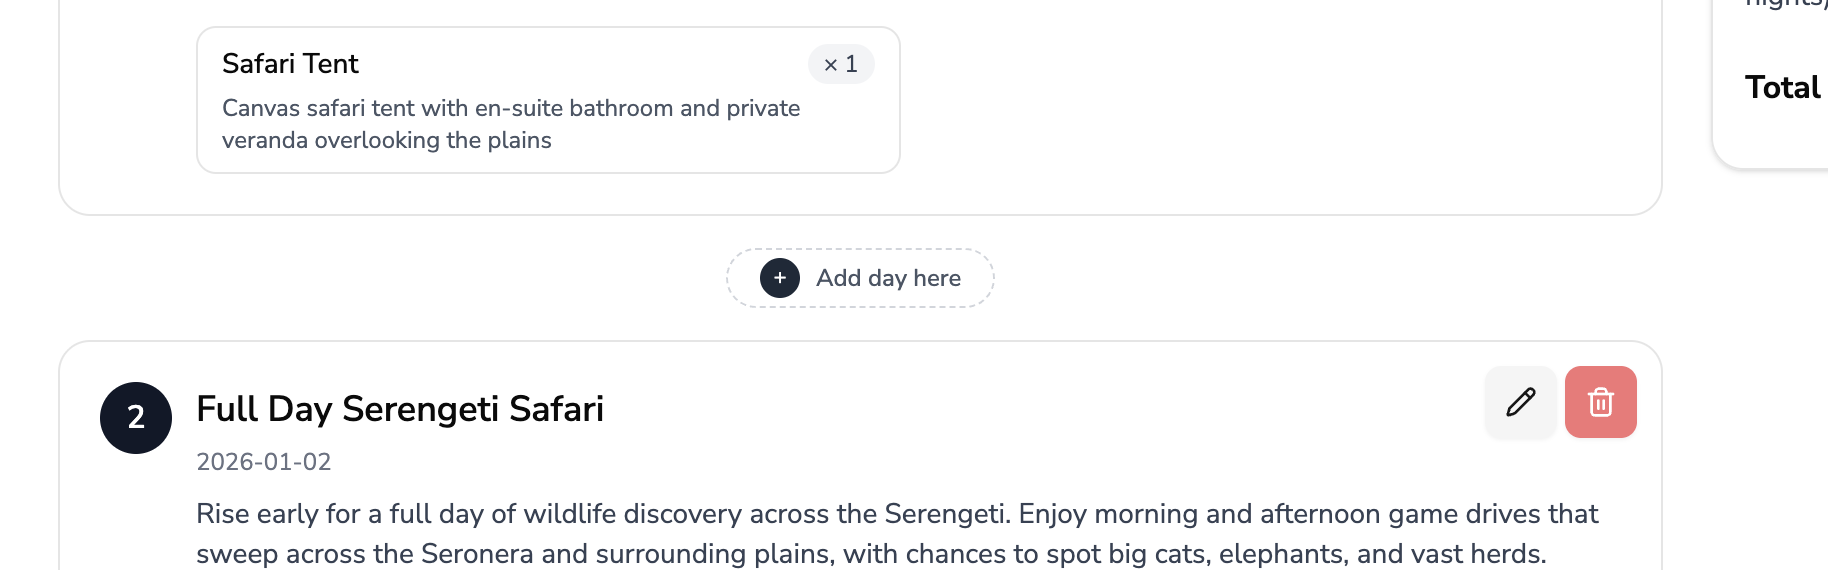 To add a new day to your itinerary — whether at the beginning, between existing days, or at the end — click the **“Add Day Here”** button at the desired location.
A new day block will be inserted in that position, allowing you to customize its details immediately.
### Editing What's Included/Excluded
To add a new day to your itinerary — whether at the beginning, between existing days, or at the end — click the **“Add Day Here”** button at the desired location.
A new day block will be inserted in that position, allowing you to customize its details immediately.
### Editing What's Included/Excluded
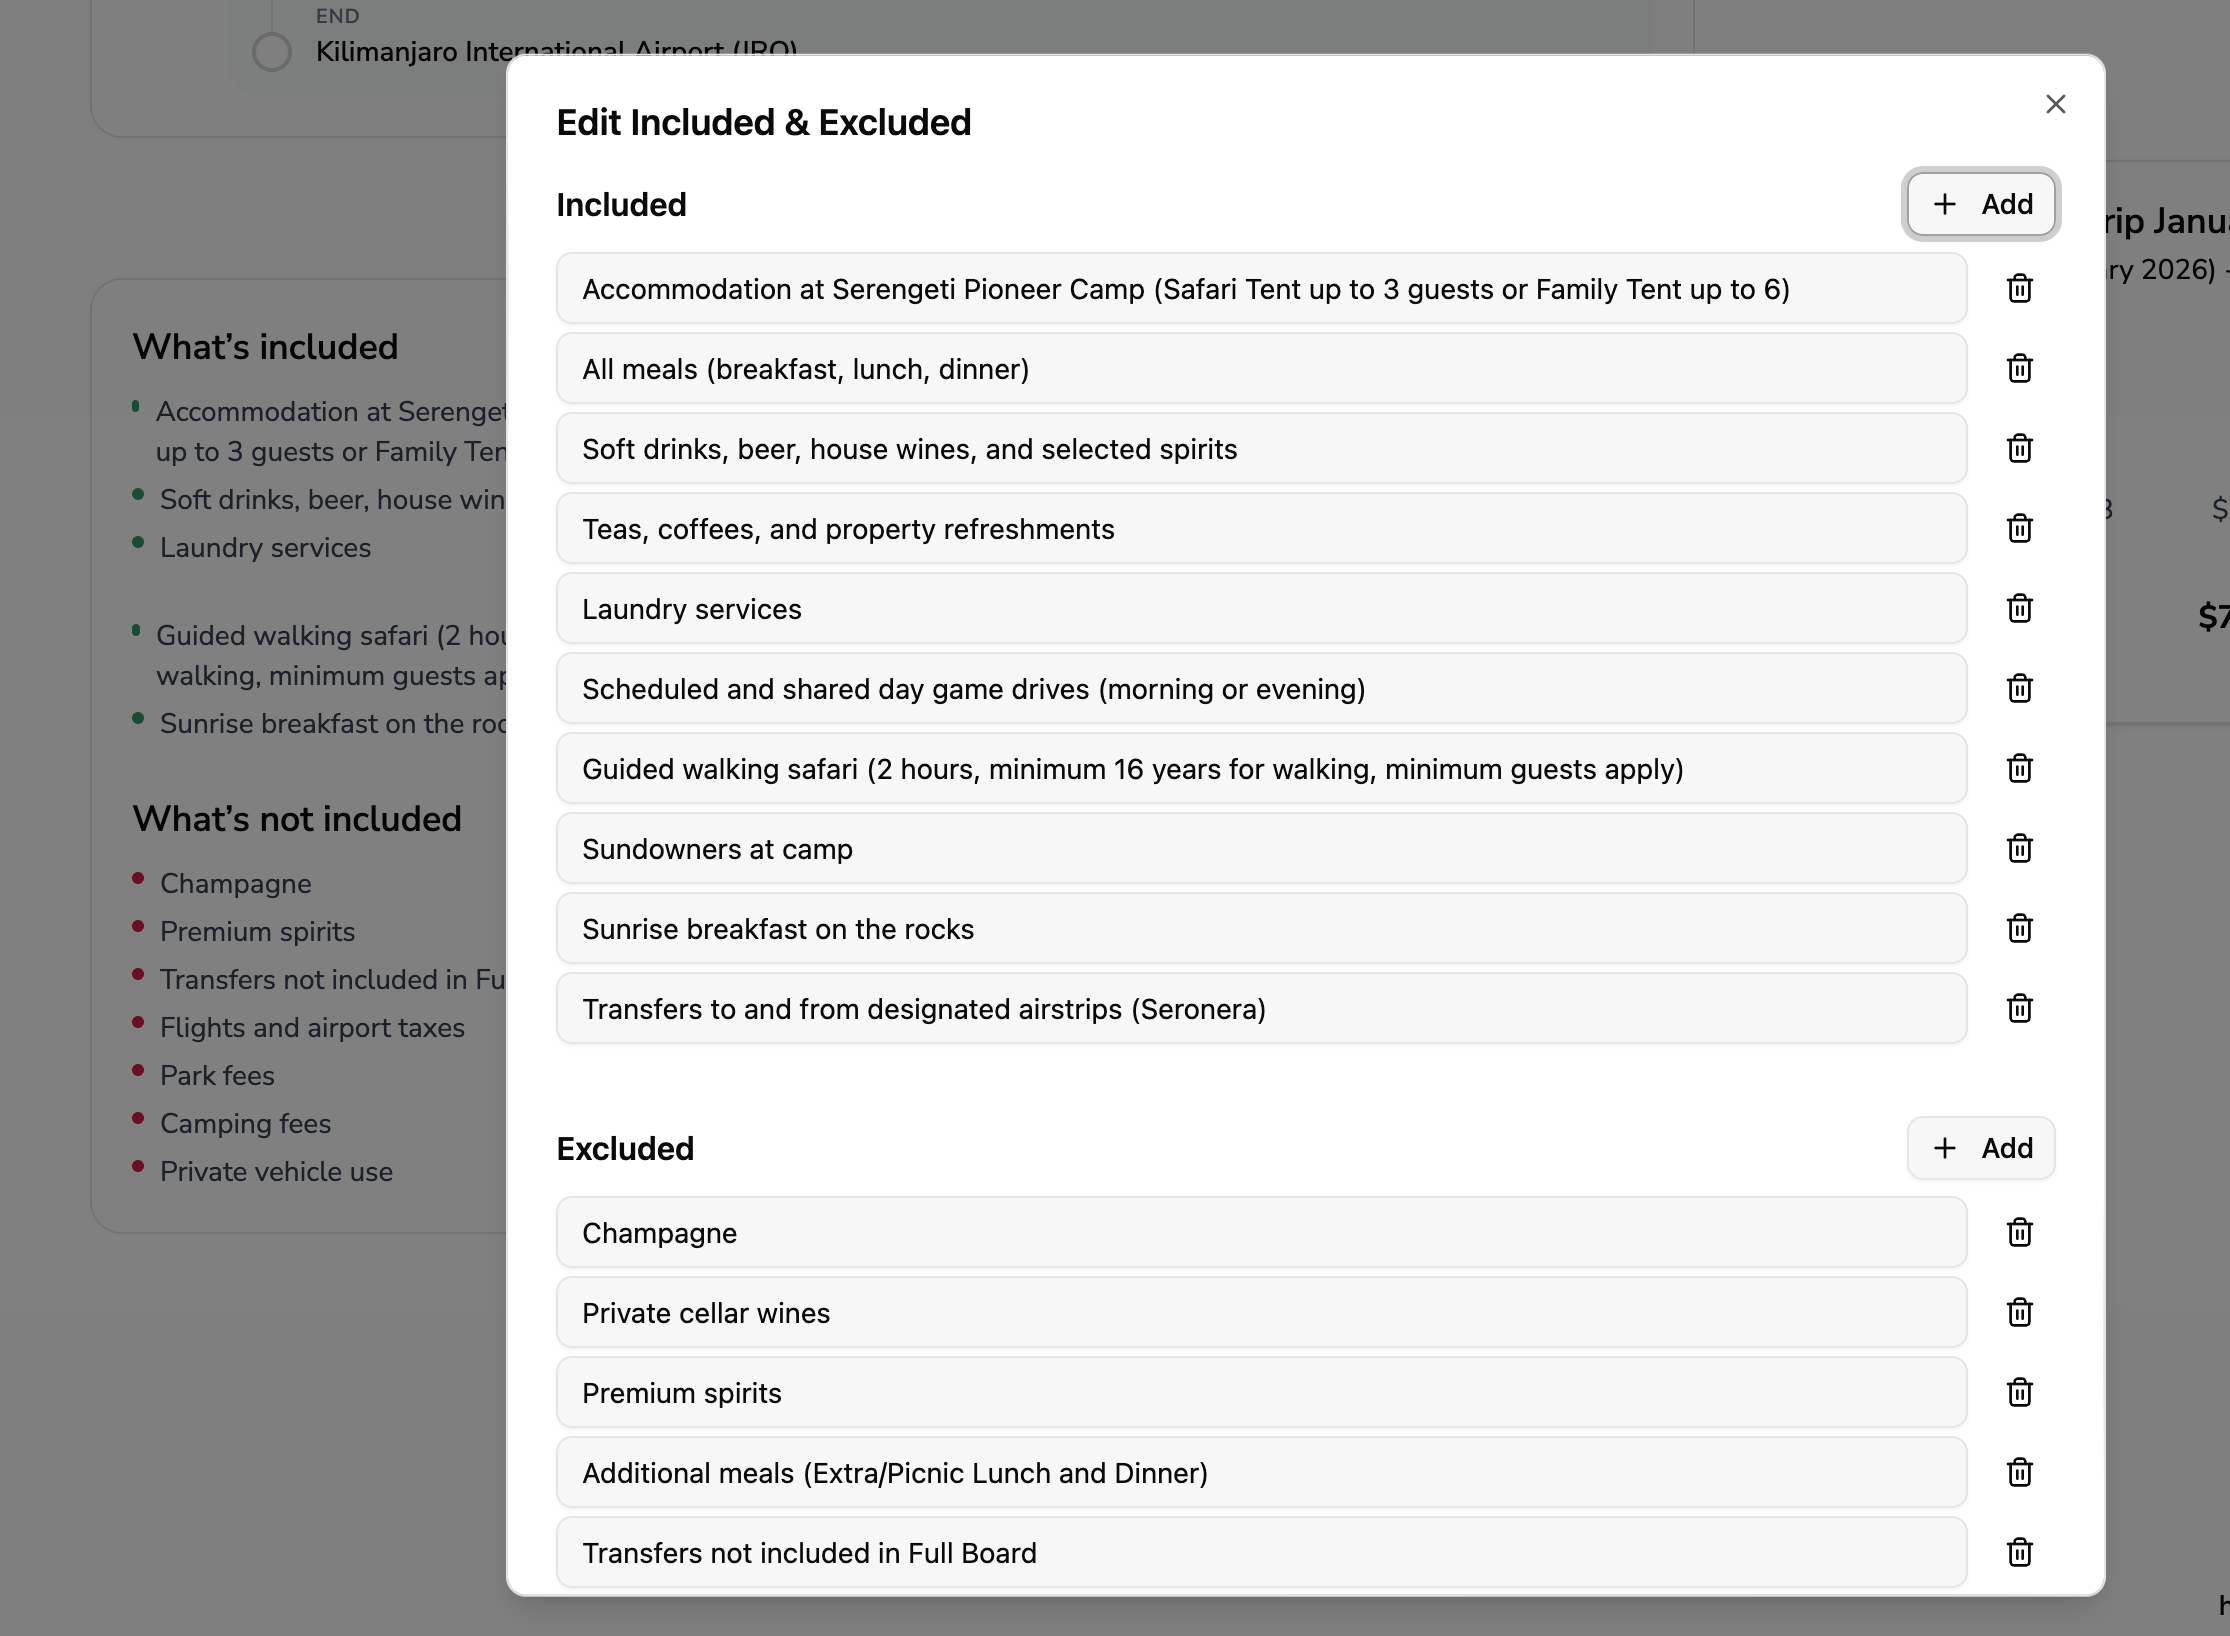 To update the **What’s Included** or **What’s Excluded** sections, click the **pencil icon** in the **top-right corner** of the respective section.
This will open a modal where you can modify or add items as needed.
### Saving & Sharing the Itinerary
To update the **What’s Included** or **What’s Excluded** sections, click the **pencil icon** in the **top-right corner** of the respective section.
This will open a modal where you can modify or add items as needed.
### Saving & Sharing the Itinerary
 To **save or share** your itinerary, click the **three dots** in the **bottom-right corner** of the screen.
A menu will appear with three options:
**1. Save Itinerary**
Select this option to **save all the changes and edits** you’ve made to the itinerary.
> 💡 *Tip:* Always click **Save Itinerary** after making any updates — changes are not saved automatically.
**2. View Private Itinerary**
This option generates a **private link** to your itinerary, allowing you (and your team) to view or continue editing the trip details.
**3. Get Shareable Link**
This creates a **public, client-facing link** to share with customers.
The shareable version **removes editing access** and **hides all net costs and margins**, ensuring your internal pricing remains confidential.
To **save or share** your itinerary, click the **three dots** in the **bottom-right corner** of the screen.
A menu will appear with three options:
**1. Save Itinerary**
Select this option to **save all the changes and edits** you’ve made to the itinerary.
> 💡 *Tip:* Always click **Save Itinerary** after making any updates — changes are not saved automatically.
**2. View Private Itinerary**
This option generates a **private link** to your itinerary, allowing you (and your team) to view or continue editing the trip details.
**3. Get Shareable Link**
This creates a **public, client-facing link** to share with customers.
The shareable version **removes editing access** and **hides all net costs and margins**, ensuring your internal pricing remains confidential.