Skip to main contentThe section below outlines how to edit an existing itinerary within the Simbas.AI dashboard.
Note: Changes will not be saved automatically.
To save your updates, you must explicitly click “Save Itinerary” from the menu in the bottom-right corner of the page (accessible by clicking the three dots).
Static & Publish Modes
At the top of the itinerary page, you’ll find three key toggles: Static, Dynamic, and Publish.
Static
The Static toggle refers to itineraries with fixed pricing — ideal for quotes or packages you want to share directly with customers without automatic price adjustments.
Dynamic
The Dynamic toggle is currently in BETA and will be available in a future release.
This feature will enable real-time dynamic pricing, allowing your itineraries to automatically adjust rates based on supplier data, dates, and traveler details.
Publish
The Publish toggle controls whether an itinerary is publicly accessible.
When enabled, the itinerary becomes discoverable through the search graph and will appear on a dedicated landing page in a future update.
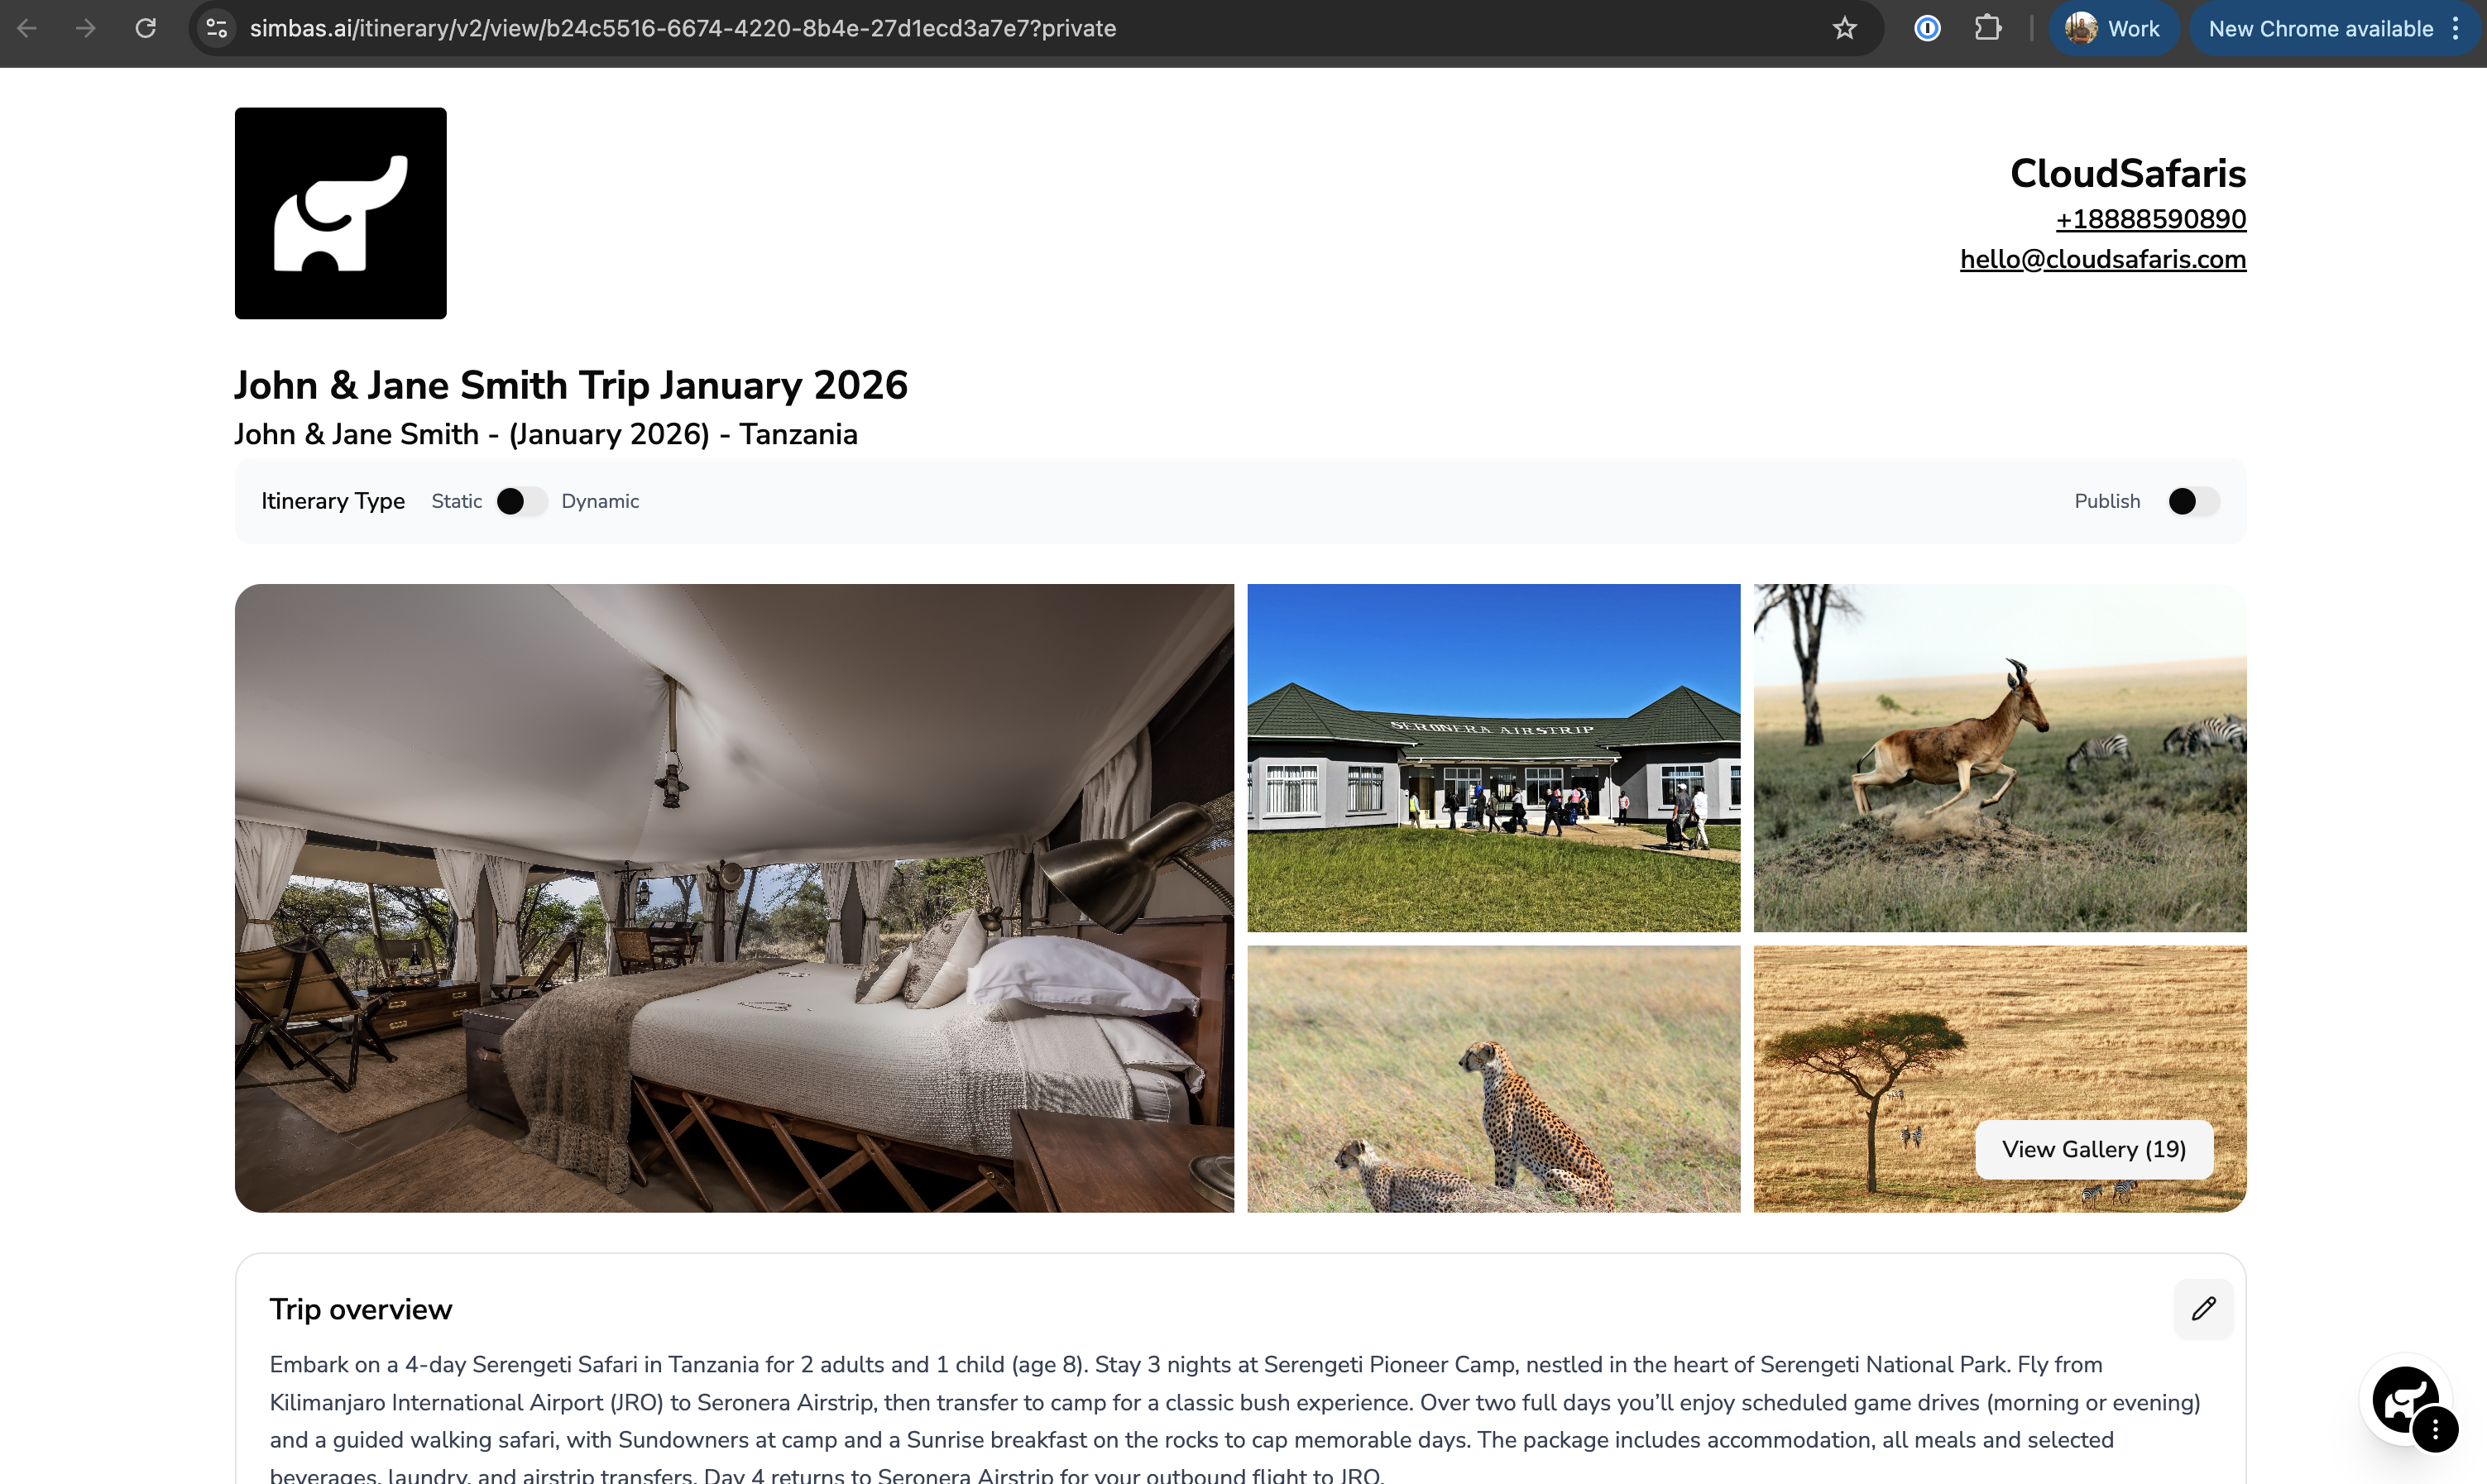
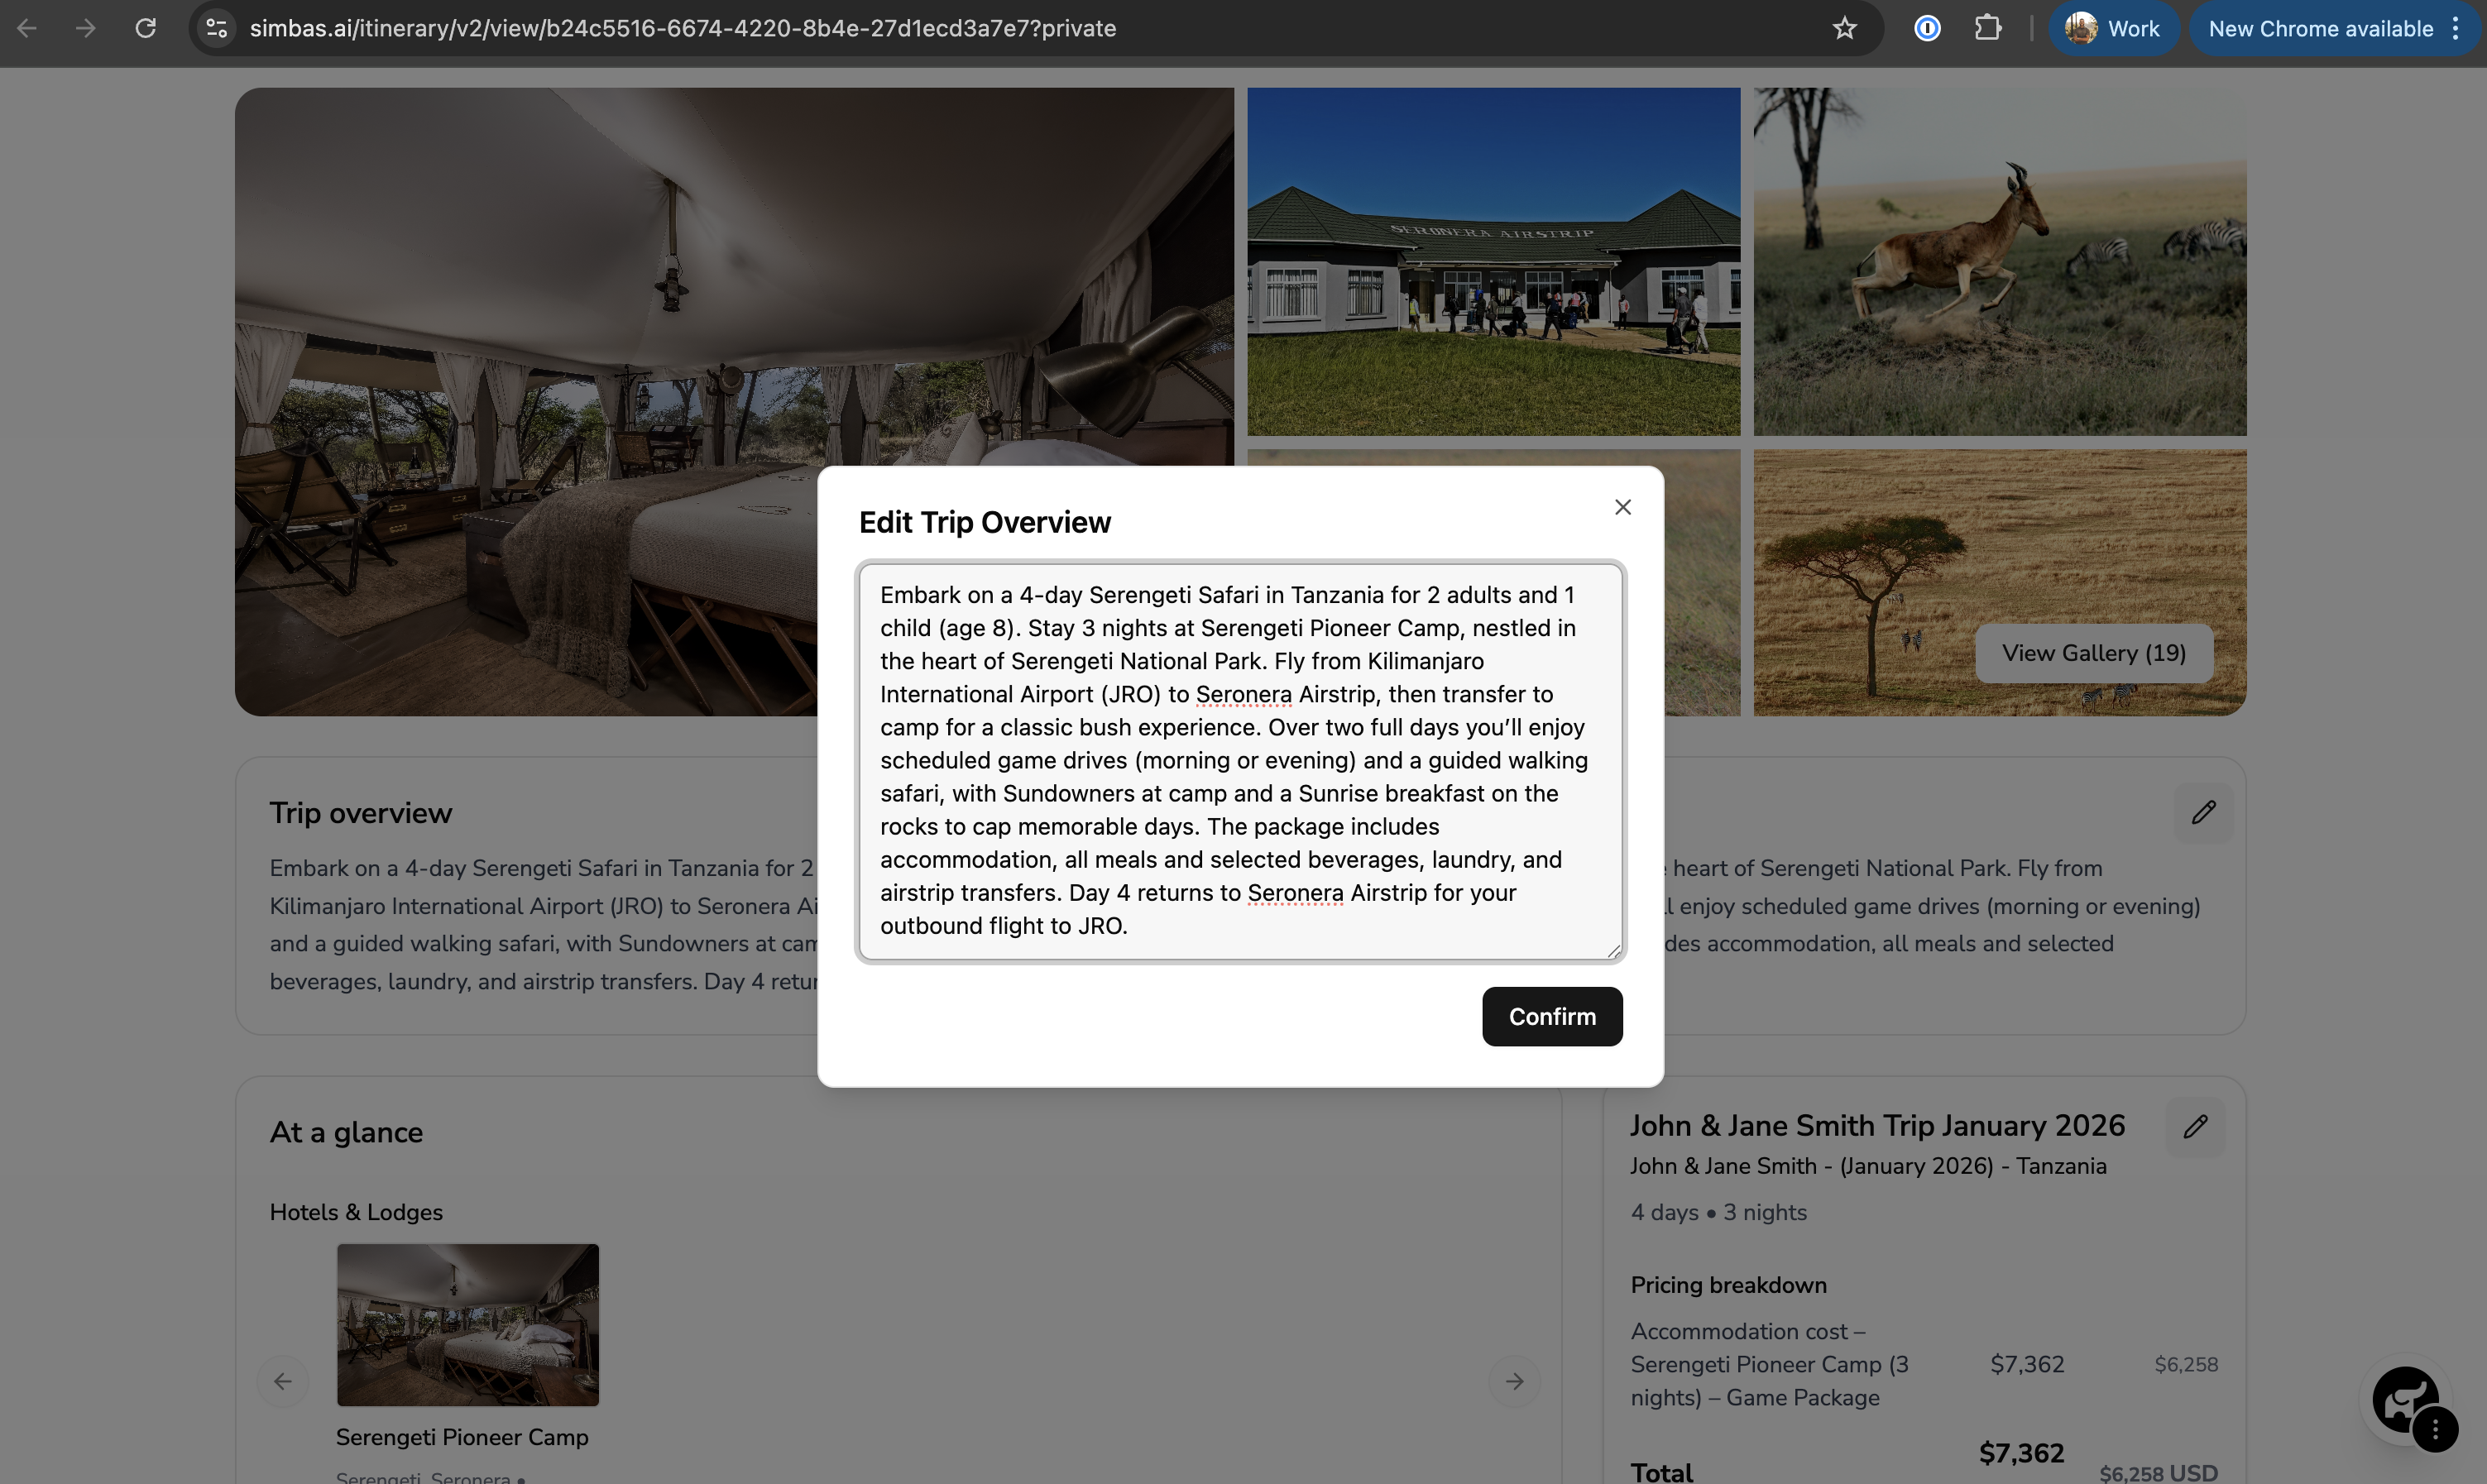
Editing the Overview
To edit the Trip Overview, click the pencil icon next to the Trip Overview section.
A modal will appear, allowing you to update the trip details as needed.
Once you’ve made your changes, click “Confirm” to apply and save the updates to the itinerary.
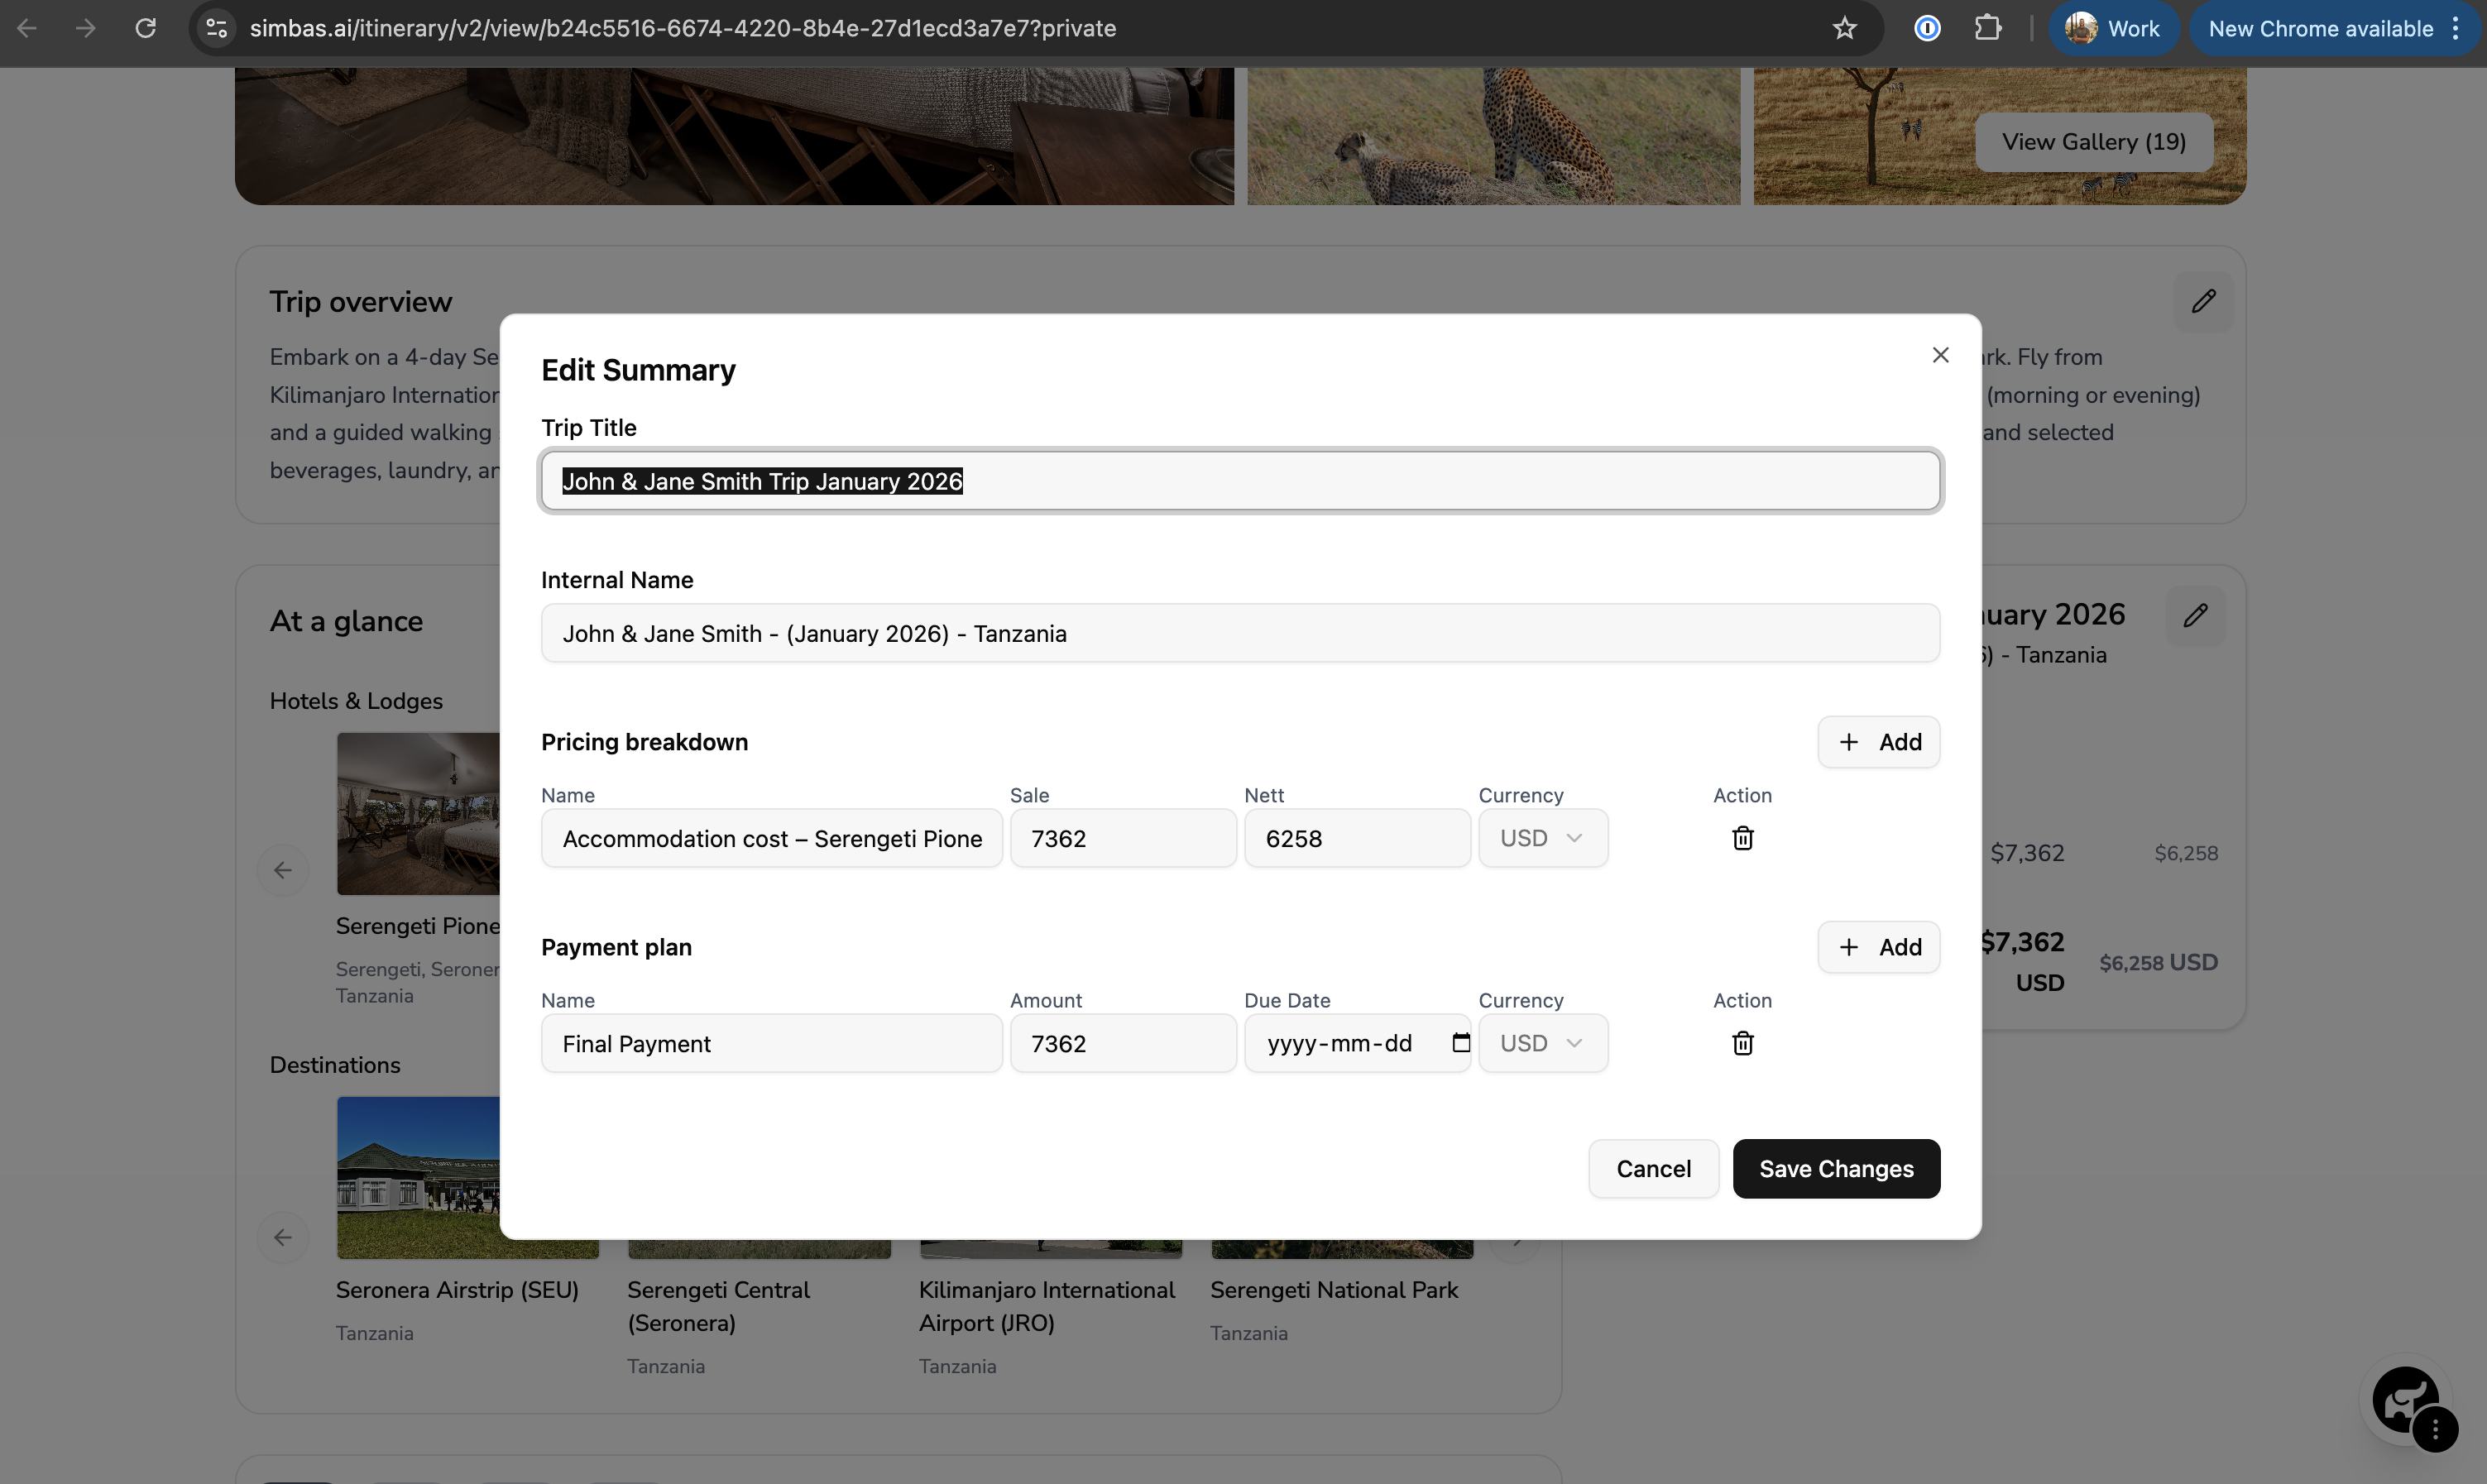
Editing the Name, Internal Name, Cost and Payment Plan
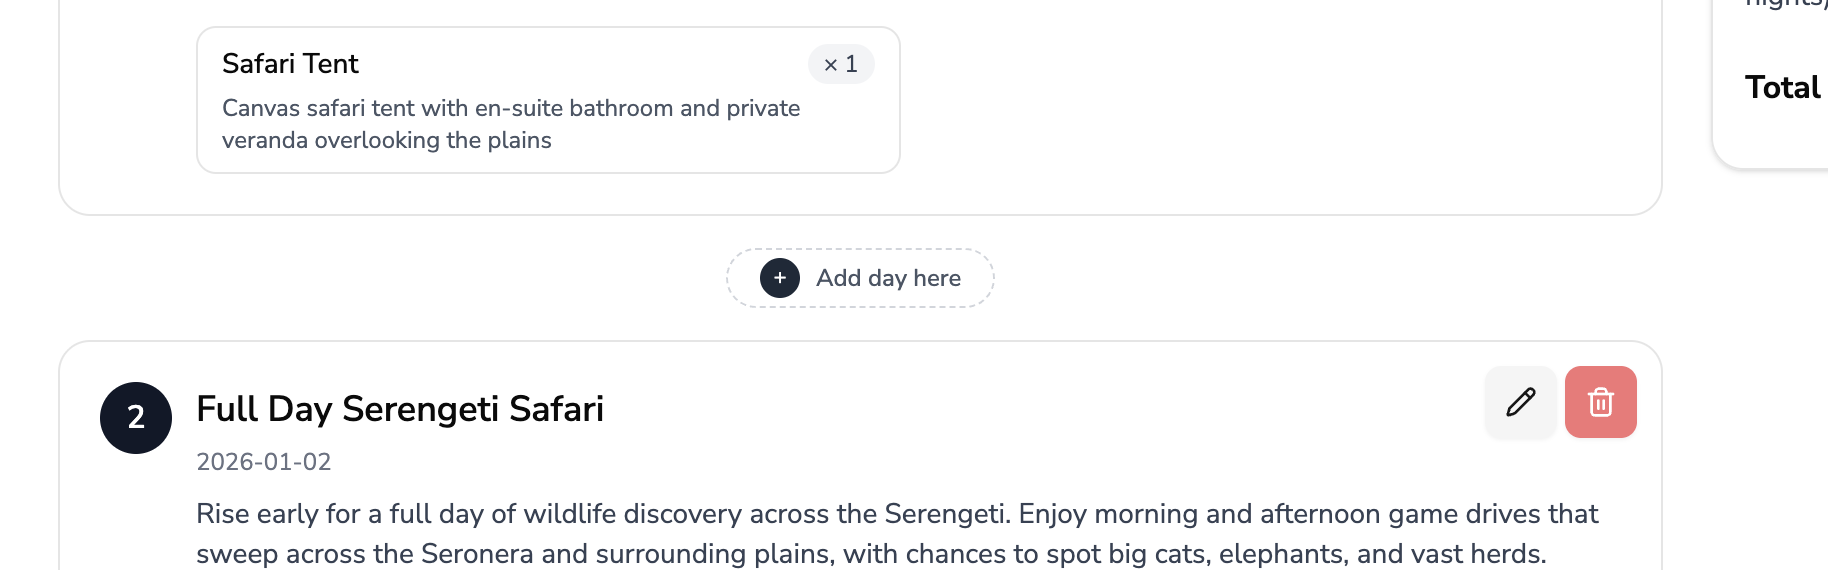
To edit the Trip Name, Internal Name, Pricing Breakdown, or Payment Plan, click the pencil icon in the top-right corner of the pricing section.
This will open an editor where you can update pricing details and configure the payment plan for the itinerary.
Once you’re satisfied with your edits, click “Save Changes” to apply and store the updates.
Editing the Days
To edit the details for a specific day within an itinerary, click the pencil icon in the top-right corner of that day’s section.
This will open a modal where you can update all relevant details, including:
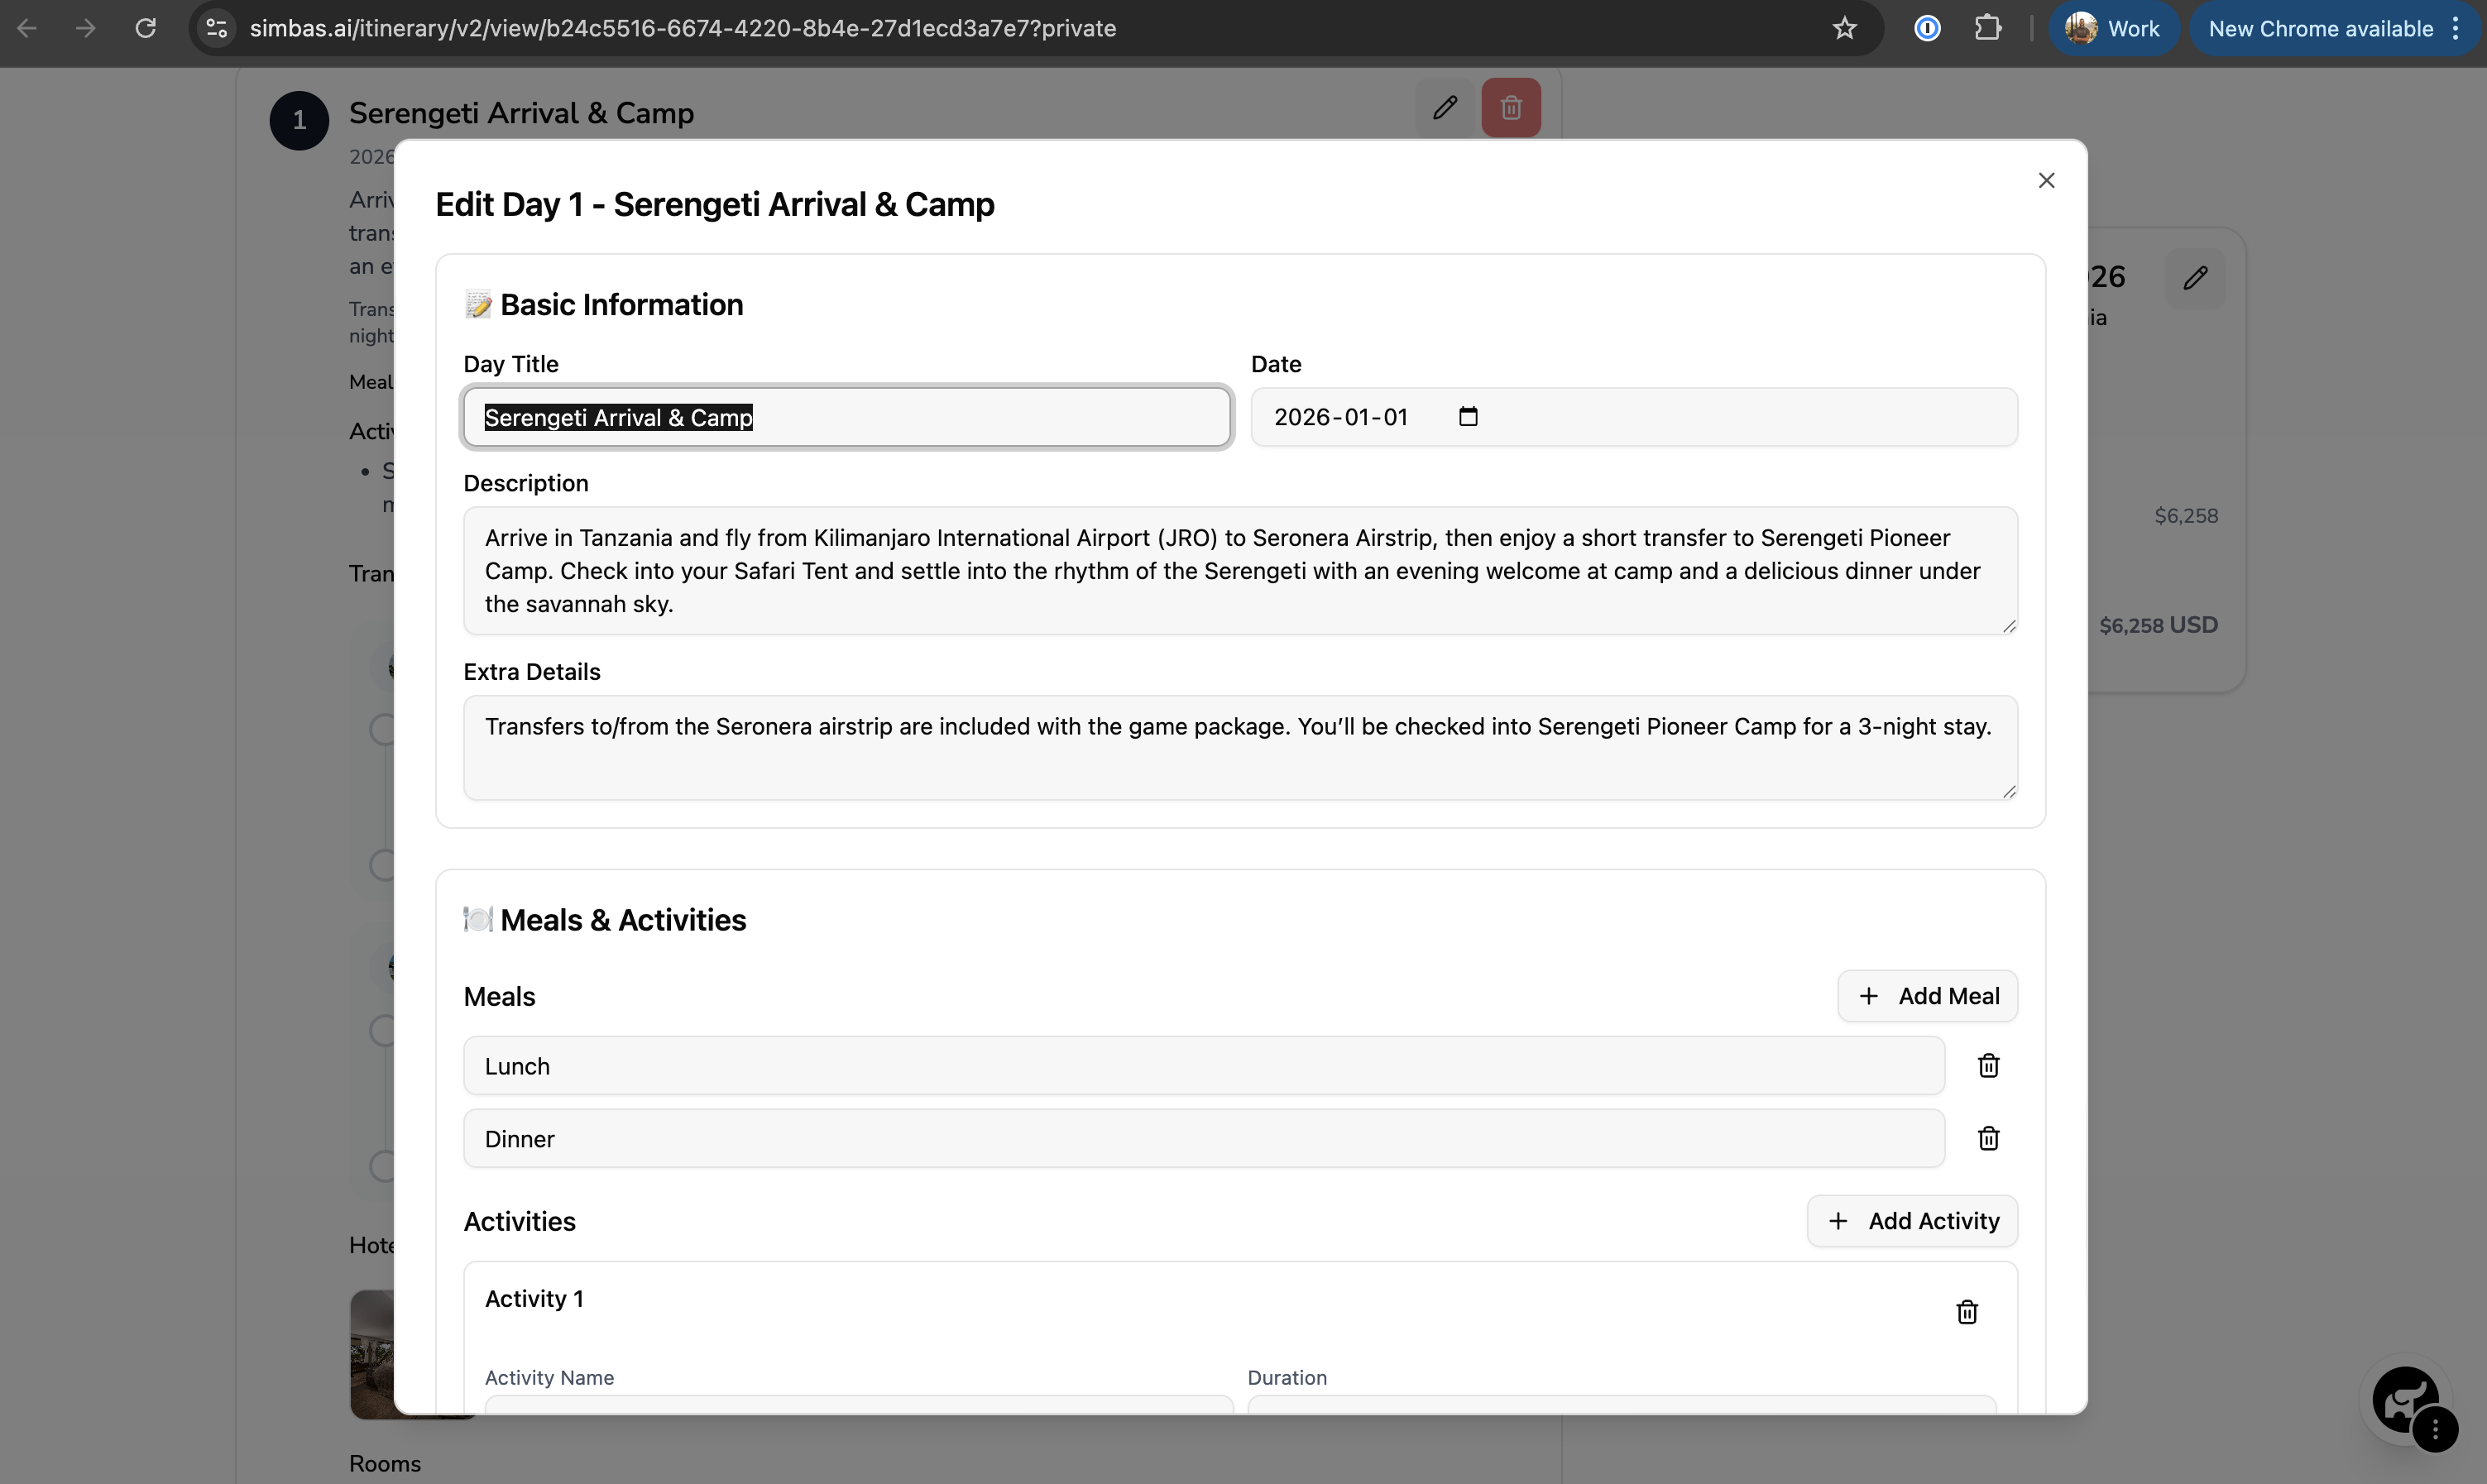
- Basic Information: Title, Date, Description, and Extra Details
- Meals & Activities
- Transfers
- Accommodations
- Activities
After making your edits, click “Confirm” to save the changes.
Deleting a Day
To delete a day from the itinerary, click the red trash icon in the top-right corner of the day’s section.
Adding Days
To add a new day to your itinerary — whether at the beginning, between existing days, or at the end — click the “Add Day Here” button at the desired location.
A new day block will be inserted in that position, allowing you to customize its details immediately.
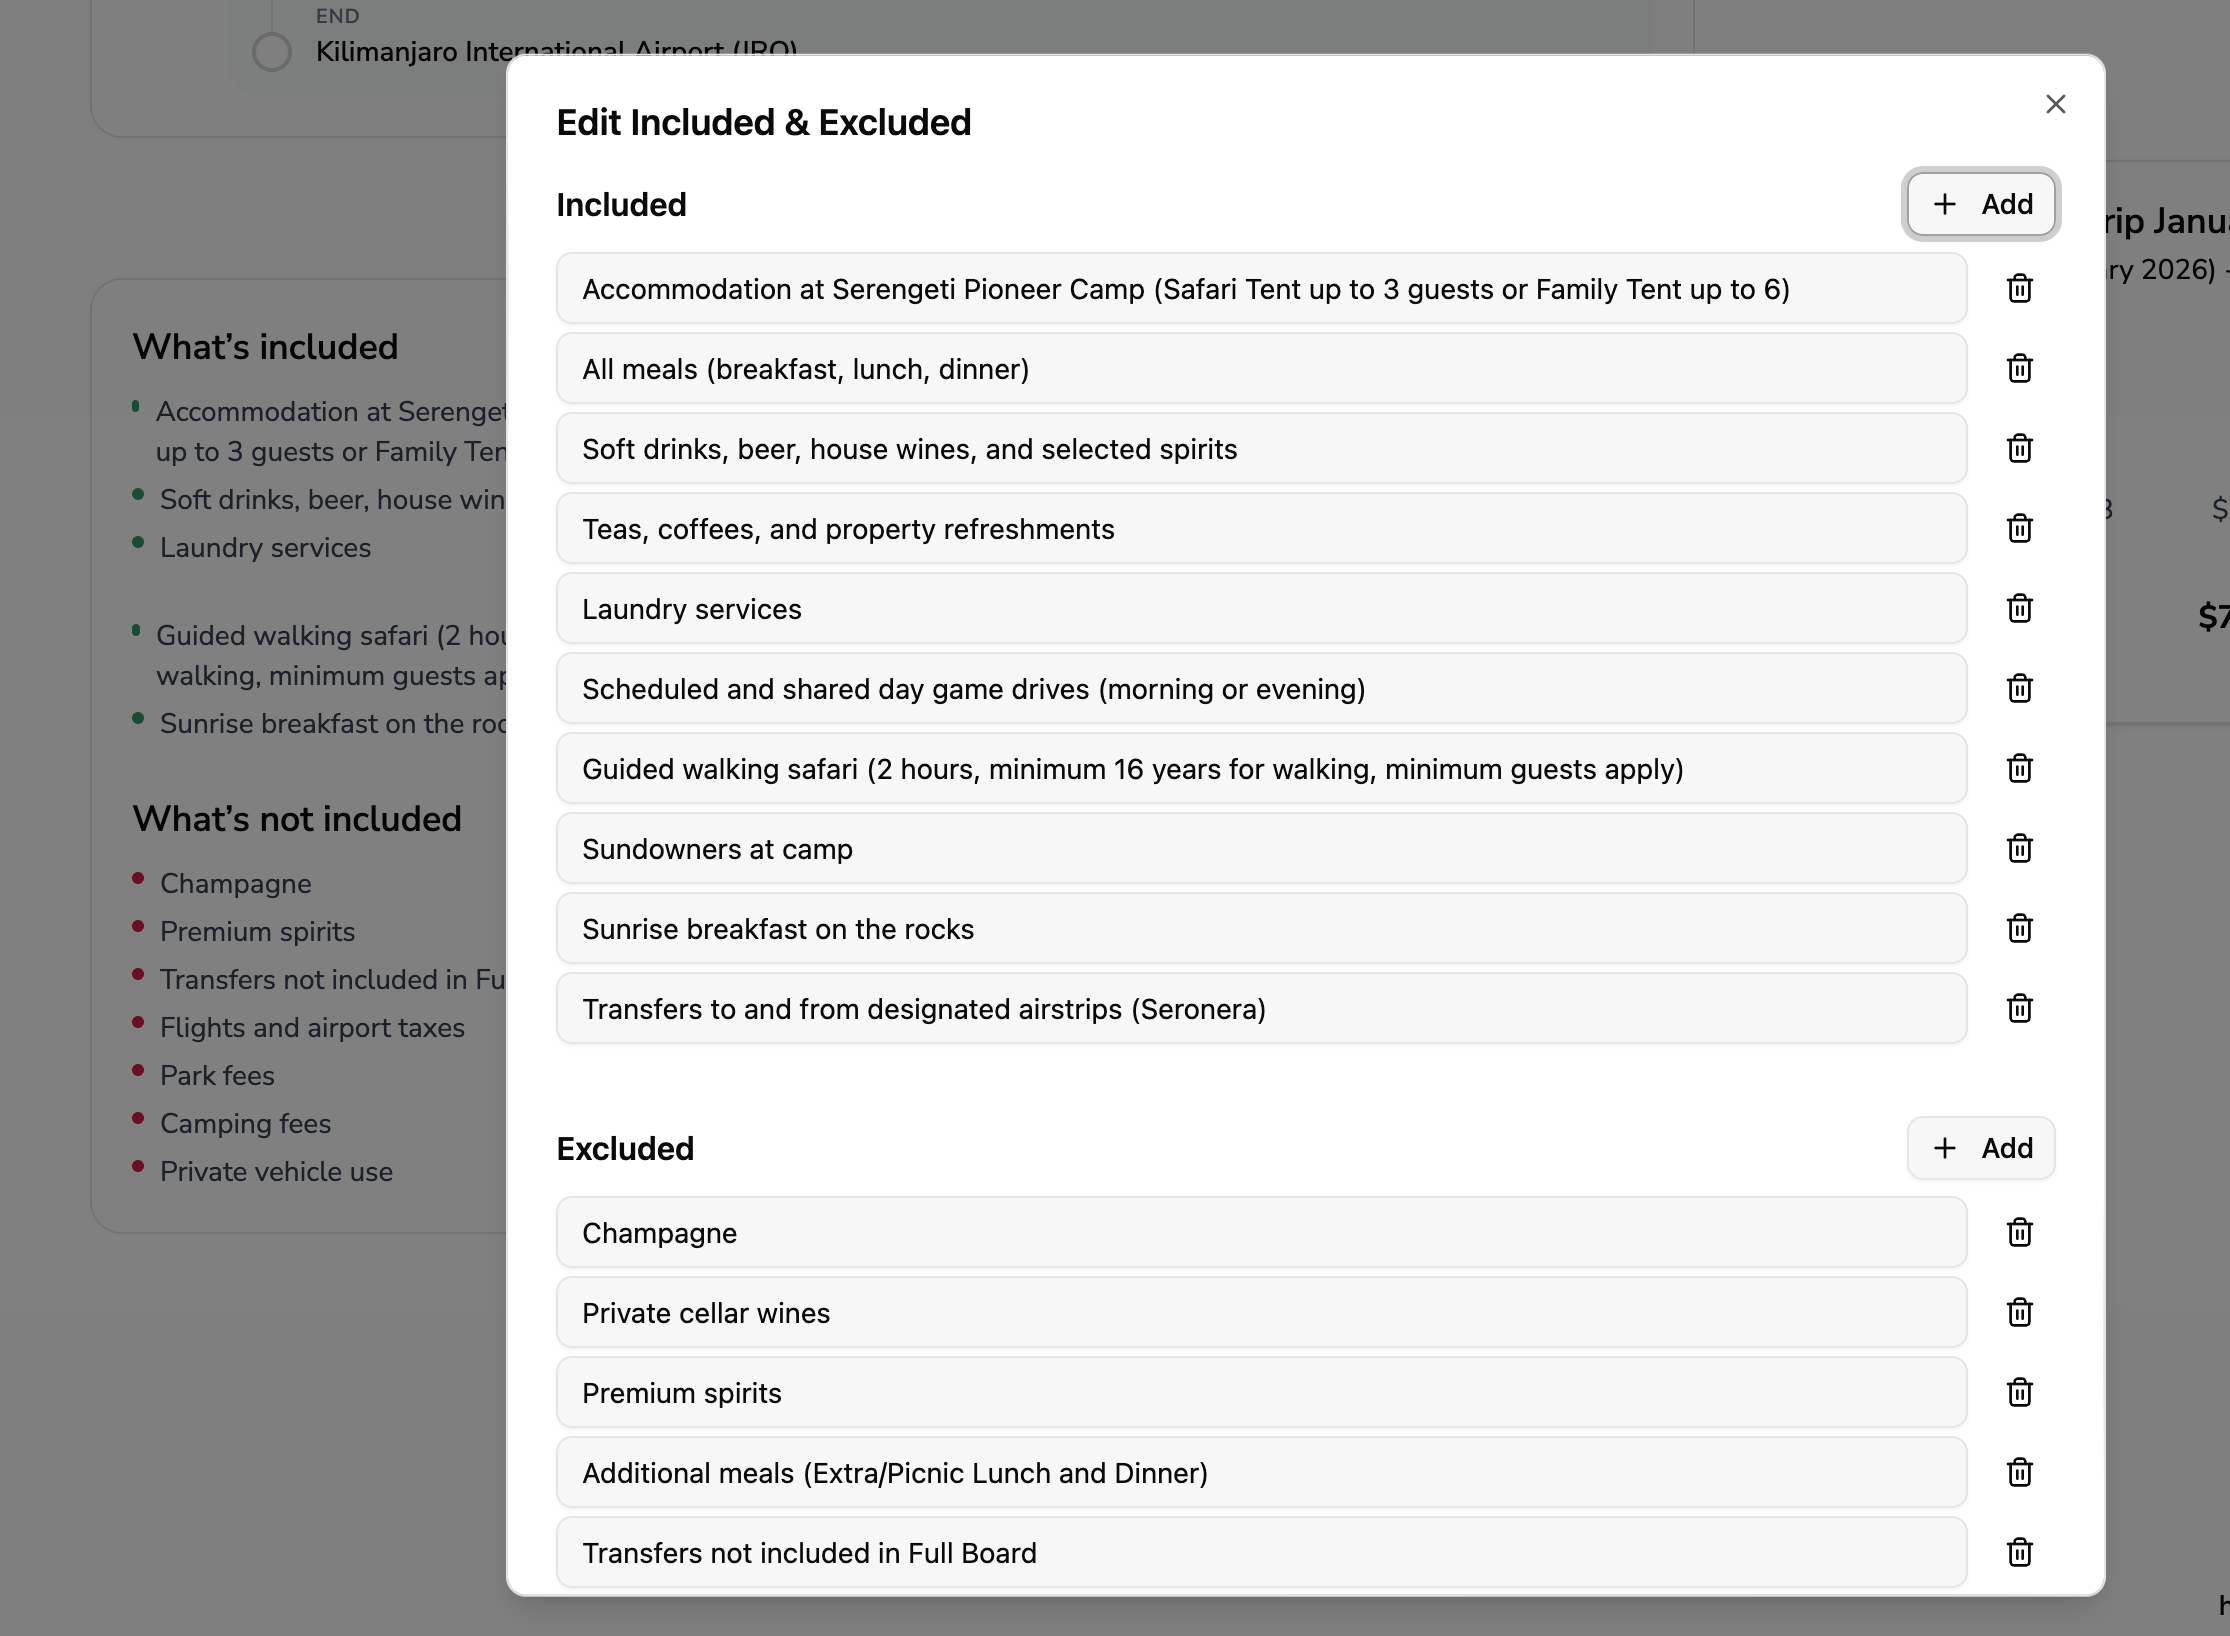
Editing What’s Included/Excluded
To update the What’s Included or What’s Excluded sections, click the pencil icon in the top-right corner of the respective section.
This will open a modal where you can modify or add items as needed.
Saving & Sharing the Itinerary
To save or share your itinerary, click the three dots in the bottom-right corner of the screen.
A menu will appear with three options:
1. Save Itinerary
Select this option to save all the changes and edits you’ve made to the itinerary.
💡 Tip: Always click Save Itinerary after making any updates — changes are not saved automatically.
2. View Private Itinerary
This option generates a private link to your itinerary, allowing you (and your team) to view or continue editing the trip details.
3. Get Shareable Link
This creates a public, client-facing link to share with customers.
The shareable version removes editing access and hides all net costs and margins, ensuring your internal pricing remains confidential.